Haven't made too much progress, I'm still practicing on sheet metal how to butt weld properly. It has been time consuming, fun, interesting, and somewhat of a pain!
I'm getting coaching from friends, family, and online tutorials and videos. Still haven't got it quite yet, having trouble with too much penetration and making it look pretty.
Will practice some more this weekend...
Thursday, June 27, 2013
Tuesday, June 25, 2013
New toy!
I got back from my work-cation on Sunday and went straight to work on getting ready for the next step of the project. I bought the Lincoln Handy Mig and it arrived before I left for the Bahamas. BUT, I didn't have the time to get the rest of the accessories so I decided to wait until I got back.

I went to the local welding supply store and picked up the shielding gas, helmet, pliers, wire, jacket, and miscellaneous accesories to get everything going.
Today, I practiced on some angle iron (which was really too thick for this welder, but good practice) and some 22 gauge sheet metal. This is the type of metal used on most body panels. The floor pan is closer to an 18ga, so some small adjustments will be necessary.

I practiced laying down some beads on the angle iron and then some spot welds on the sheet metal. I then cut up the sheet metal and proceeded to weld it back together. I tried to dial in my settings on the welder to insure a good weld. I practiced grinding down some of the welds, using the hammer and dolly, and just getting a feel for the machine.

I even had a little fun too.

I have to work the next few days and I'm out of town this weekend to fly aerobatics in Atlanta. BUT, hopefully I'll have some time next week to get some things done. Progress is slower than I had hoped, but it is what it is!
Wednesday, June 12, 2013
Reproduction parts, not so nice
I got my delivery of "new" parts for the framehead. The pictures are below, but needless to say I sent them back via UPS about an hour after I got them. Will continue to look for an original framehead and then cut the areas I need out of that.
Welder comes tomorrow, but I'm on break for over a week as I have to go to work! Location: Bahamas. Could be worse. Will be nice to have a working vacation. Hopefully start up again when I get back.


Welder comes tomorrow, but I'm on break for over a week as I have to go to work! Location: Bahamas. Could be worse. Will be nice to have a working vacation. Hopefully start up again when I get back.


Tuesday, June 11, 2013
Day 22
Well I had a pretty successful day today...if making neighbors annoyed counts as success!
I started by painting the pedal assembly and some areas I missed on the pan.

I then removed the original jack point from my donor pan.


I also removed the rubber mat hold down points from the donor pan to put onto my pan.

Finally, I cut out the old battery section that was rotten. It's a Fred Flintstone bug now!

 |
| Thin, holey metal with some JB weld remnants that survived the media blasting. |
 |
| The cut piece on top of the donor pan. You can also see the remaining "bumps" from the floor mat hold down points on the right hand side of the picture. |
I know if doesn't seem like a lot of work, but because I have to reuse all the parts I made sure to take time and cut only the spot welds/welds and not to hack it to pieces.
At this point, I'm kind of at a standstill until I can get the welder (and my skills) here. Then I can tackle some of these projects including the Napoleon's hat at the front of the pan.
Monday, June 10, 2013
Day 21
Well with the time off I've had lately and success in finding parts I'm in a bit of a cash crunch, if you will. So, over the weekend I didn't do much on the car but did decide to find what associated with the pan I could tackle that would be rewarding (aka working on something) but with minimal cost. I am still waiting on my welder which arrives Thursday and some of the frame head parts which are here Wednesday. So until then, the pan can't really make any progress.


I research, read, and decided to disassemble the pedal cluster. It had all the grease, grime, and nasty bits that needed to be removed anyway. The dis-assembly went well, I found another thing I need to purchase so I don't have to rely on shops to do all the work for me...a bench press! I'm looking into it, but there have been at least a few things now that needed to be pressed out...so that means they will need to be pressed back in. I can find one for around $150...but it all starts adding up!
My seals for the steering box came in, so I picked those up. 3 sets for $17. What a deal.

Then I took the pedal cluster parts and my donor pan to Karl at A Strip Center where he took care of the parts while I waited. (I actually watched and learned!)


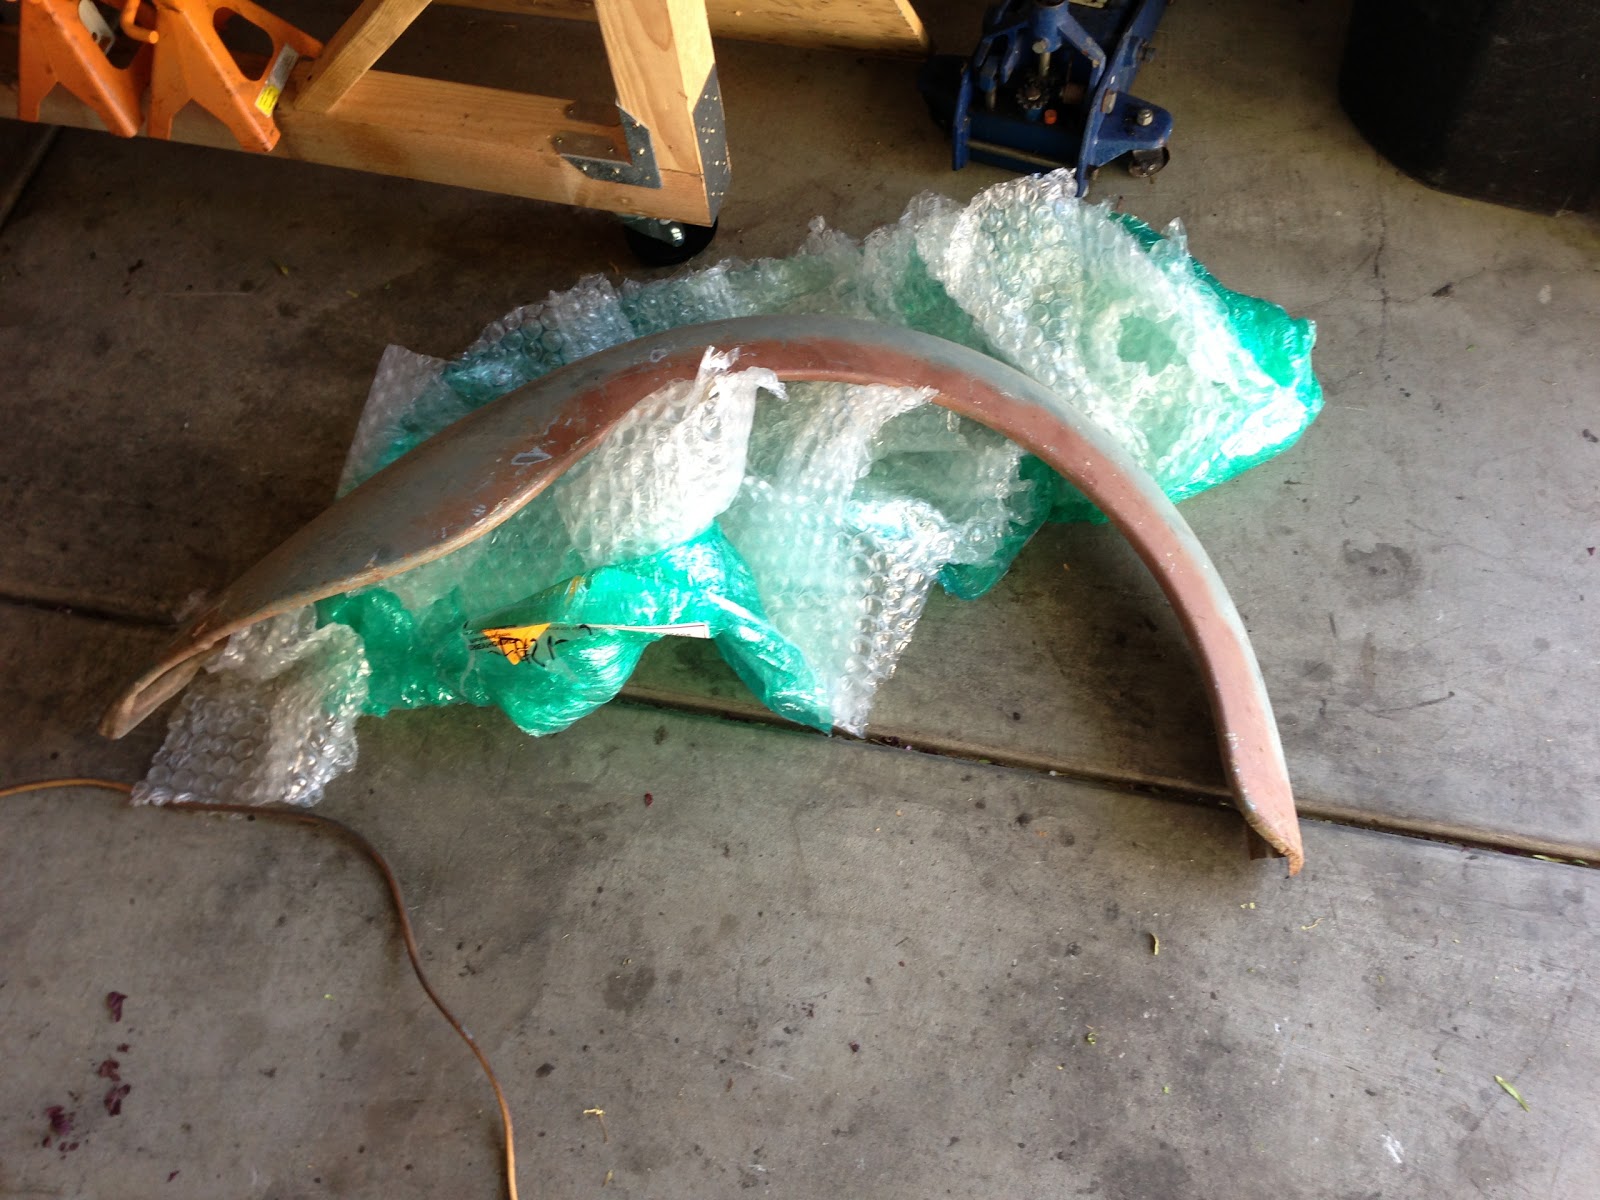
Finally, I went and picked up my period correct fender from the Greyhound station in Vegas. It was certainly a people watching experience. I enjoyed it to say the least. The fender came exactly as described, will need a bit of work but well worth it.


Tomorrow I'm going to do a little bit more pan painting to get some areas I missed, paint the pedal cluster, and possibly get ready to cut some of the old battery tray area out. We shall see...


I research, read, and decided to disassemble the pedal cluster. It had all the grease, grime, and nasty bits that needed to be removed anyway. The dis-assembly went well, I found another thing I need to purchase so I don't have to rely on shops to do all the work for me...a bench press! I'm looking into it, but there have been at least a few things now that needed to be pressed out...so that means they will need to be pressed back in. I can find one for around $150...but it all starts adding up!
My seals for the steering box came in, so I picked those up. 3 sets for $17. What a deal.

Then I took the pedal cluster parts and my donor pan to Karl at A Strip Center where he took care of the parts while I waited. (I actually watched and learned!)


Finally, I went and picked up my period correct fender from the Greyhound station in Vegas. It was certainly a people watching experience. I enjoyed it to say the least. The fender came exactly as described, will need a bit of work but well worth it.

 |
| These dimples or ribs in between each hole make this fender original for my year. Something that 99% of people will probably never see ;) |
 |
| Small hole at the rear, bottom edge that needs repairing. |
 |
| Not bad! |
Tomorrow I'm going to do a little bit more pan painting to get some areas I missed, paint the pedal cluster, and possibly get ready to cut some of the old battery tray area out. We shall see...
Saturday, June 8, 2013
How pilots get Bug parts!
Well, I had been working on a deal for several days to get the replacement pan area and jack point I needed to fix my pan. I found one online for the driver's side pan that would work for my passenger side pan fixes. It is original, german metal, and in decent shape. Using original stuff is so much better for a variety of reasons.

It was in southern California and realized we had an airplane trip there later in the week. I convinced the buyer to drive 90 miles round trip to drop the pan off at the FBO and picked it up on our empty leg back to Vegas yesterday. I wrapped the "new" pan in some canvas and shipped it out VIP style.


I need to get the area sandblasted and then will start working on getting the area patched on my pans.

Friday, June 7, 2013
Day 19-20
Well, some good news and a minor speed bump that has already been overcome!
First, after my last post and some more drying I came out to the garage to find some pretty bad blistering/pock marks in the paint. I found it around 11pm and had trouble sleeping. Especially considering I had to be up at 5am the next day!


I went to bed thinking I screwed up the paint job, chose the wrong paint, and would have to re-blast it. I emailed the customer support guy at Master Series, he was very helpful. I also got some great insight on TheSamba about what may have happened.
Here is what I summarized in an email to a few people:


Looks great.
The pan is now sealed from rust, which means I can relax. I left the areas to be welded unpainted and will get them sealed ASAP after the repairs.
Also purchased a Lincoln Electric Handy MIG yesterday. In a bit of a cash crunch this month, so progress may slow only for the reason that I don't want to get into too much debt too early in the project. I'll be eating PB&J this month!
Still looking for parts, may have sourced a few but waiting to see about prices.
First, after my last post and some more drying I came out to the garage to find some pretty bad blistering/pock marks in the paint. I found it around 11pm and had trouble sleeping. Especially considering I had to be up at 5am the next day!


I went to bed thinking I screwed up the paint job, chose the wrong paint, and would have to re-blast it. I emailed the customer support guy at Master Series, he was very helpful. I also got some great insight on TheSamba about what may have happened.
Here is what I summarized in an email to a few people:
From the Associated Bug Press (ABP) ----- ABP is reporting that due to heavy handedness and light-headed induced stupor, a Bug lover recently painted the bottom of his pan only to find several hours later some blistering had occurred. After some research, the painter feels like a real doofus.Basically, I applied the paint too thick. Live and learn. Sanded off the high spots and flipped over the pan to finish the painting of the top this morning. I woke up at 5am again to make sure I avoided the heat.Contributing factors included the seasonal high temperatures in excess of 100 degrees Farenheit, the fact that because of that heat the overhead fan was on causing a skin to develop on top of the paint, the possibility of some "solvent pop" from the wax and grease remover, and the fact that the paint is highly aromatic made the user feel euphoric and "groovy man".Solutions include, elbow grease and some sand paper, waking up earlier to avoid the Las Vegas heat, and taking your time especially to enjoy the high.That's all for now.


Looks great.
The pan is now sealed from rust, which means I can relax. I left the areas to be welded unpainted and will get them sealed ASAP after the repairs.
Also purchased a Lincoln Electric Handy MIG yesterday. In a bit of a cash crunch this month, so progress may slow only for the reason that I don't want to get into too much debt too early in the project. I'll be eating PB&J this month!
Still looking for parts, may have sourced a few but waiting to see about prices.
Wednesday, June 5, 2013
Day 18
Well after some conversations and research I decided to put the first coat of the Master Series product down. This is a silver/aluminum paint that seals in the rust, seals out moisture, and is touted in the VW community. I decided to paint now (even though I'm not ready for the ENTIRE pan to be painted) because I want to avoid any surface rust issues. I put a lot of time and effort getting it sand blasted, hate to see it go to waste.
I used a roller and foam brushes to put it on. I missed some areas here and there, the color of the paint was identical to the metal! But that's why they recommend two coats, right?!


I left the areas I plan on cutting out without paint so I don't have to sand down areas...I just painted. Depending on how quickly I get all the other work done, I will probably have to scuff the layer of paint I laid down today. Which is a pain, but it's better than raw metal getting any sort of surface rust on it. There were some brush strokes as I put the material on, but they seem to have disappeared for the most part. The sanding will help with that too.
I also took the time to paint with Master Series all the suspension components and everything that attaches to the pan. This stuff is supposed to work wonders and I don't want to have to do it again for another 54 years...so I figured it can't hurt!


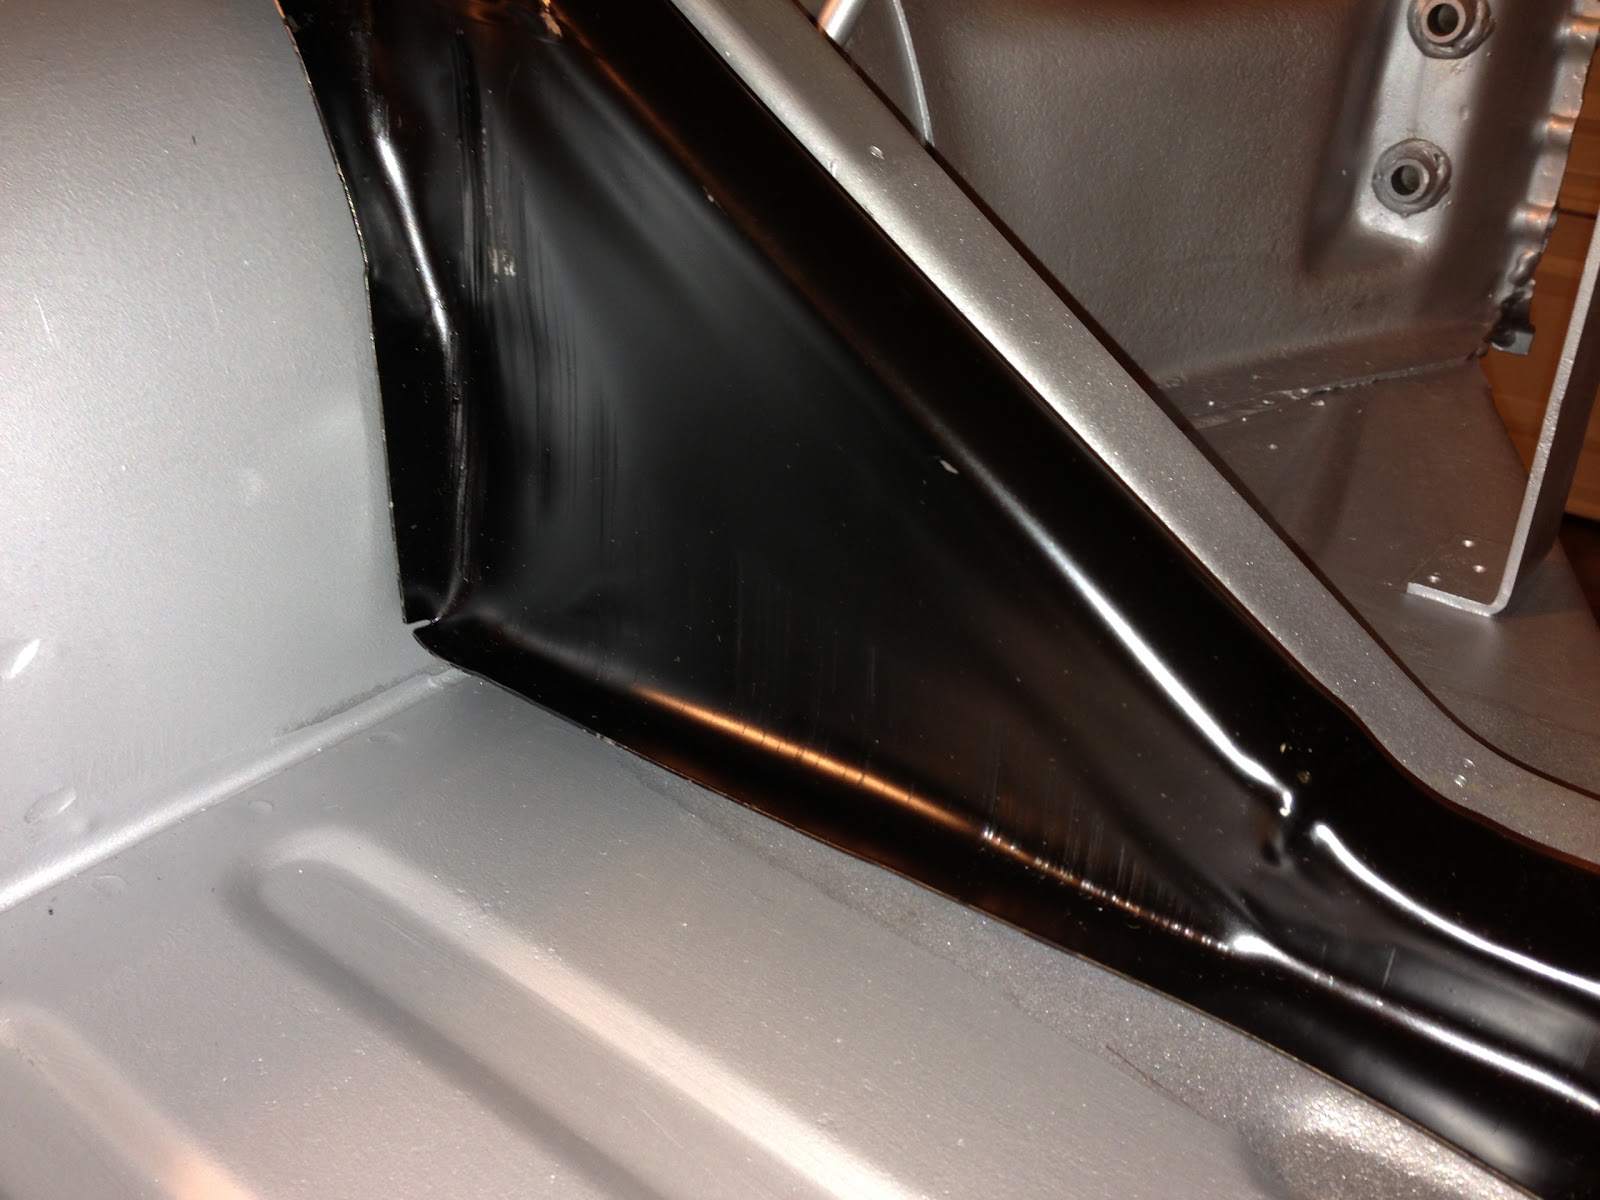
Once the metal is repaired, I have a high gloss black that will go over everything, just like the factory.
I still have to coat the top of the pan and some random odds and ends. I ordered the Napoleon Hat and bottom plate from the previous post. Also working on getting a used pan half. I think that update will be a fun one ;)
I used a roller and foam brushes to put it on. I missed some areas here and there, the color of the paint was identical to the metal! But that's why they recommend two coats, right?!


I left the areas I plan on cutting out without paint so I don't have to sand down areas...I just painted. Depending on how quickly I get all the other work done, I will probably have to scuff the layer of paint I laid down today. Which is a pain, but it's better than raw metal getting any sort of surface rust on it. There were some brush strokes as I put the material on, but they seem to have disappeared for the most part. The sanding will help with that too.
I also took the time to paint with Master Series all the suspension components and everything that attaches to the pan. This stuff is supposed to work wonders and I don't want to have to do it again for another 54 years...so I figured it can't hurt!


Once the metal is repaired, I have a high gloss black that will go over everything, just like the factory.
I still have to coat the top of the pan and some random odds and ends. I ordered the Napoleon Hat and bottom plate from the previous post. Also working on getting a used pan half. I think that update will be a fun one ;)
Tuesday, June 4, 2013
Day 17
Today I made some good progress. An improvement in mood over yesterday too!
First, I started by removing the jack post. I tried bending it after heating it up and it wouldn't budge. Without much weight on the pan and the awkward bend, it was difficult to get any leverage.
I drilled out the four spot welds and 3 beads and it was off, all cleaned up. I used a grinder for the first time and a hammer and dolly, I'm a regular old body guy now (NOT!!!!!!)


Then I moved onto the fuel line which from reading online was supposed to be the "most frustrating" thing to do in a bug. It wasn't as big of deal as I had anticipated. I cut the gas line from the front near the pedal cluster and removed the 2ft section forward of that.
Then I went to the back of the car and attached a vise grip and started tapping on the vise grip with a 1lb framer's hammer. It didn't budge. I figured, here we go!
I then tried a 4lb mini-sledge and it slowly started to creep back! Initially as the tension was high, I would only get about 2-3 inches out and then the copper/steel pipe would snap. I kept at it though and got it all out.
It went back in and I managed to get it secured on the front tab and zip tied the rest to existing tubes in the tunnel. It's done! Not a huge deal.

I'm about to finish my parts order for the pan. I am hoping for a used pan that I can cut the battery section and jack post from. It is used, so the parts are period correct and they fit!
To fix "Napoleon's hat" I'm going to order two replacement pieces instead of the entire frame head. The hat itself and the bottom plate. The funny thing is, it's $100 in parts and I will use a very small amount of the actual sheet metal, but have to buy it because most used ones are rotten. Also, the steel is full of complex curves and can't easily use sheet metal stock to do it.
Paint got here today. So I am literally ready, going to see if maybe I can hold off on the paint a few more days until I can get the pan taken care of so I'm not working twice for no reason. Dry climate, keeping the pan clean, and if some surface rust does form I can wire brush it before I paint.
Tomorrow, I hope to have some parts on the way!
First, I started by removing the jack post. I tried bending it after heating it up and it wouldn't budge. Without much weight on the pan and the awkward bend, it was difficult to get any leverage.
I drilled out the four spot welds and 3 beads and it was off, all cleaned up. I used a grinder for the first time and a hammer and dolly, I'm a regular old body guy now (NOT!!!!!!)


Then I moved onto the fuel line which from reading online was supposed to be the "most frustrating" thing to do in a bug. It wasn't as big of deal as I had anticipated. I cut the gas line from the front near the pedal cluster and removed the 2ft section forward of that.
Then I went to the back of the car and attached a vise grip and started tapping on the vise grip with a 1lb framer's hammer. It didn't budge. I figured, here we go!
I then tried a 4lb mini-sledge and it slowly started to creep back! Initially as the tension was high, I would only get about 2-3 inches out and then the copper/steel pipe would snap. I kept at it though and got it all out.
 |
| The front part, all the little pieces, and then the last long piece. |
It went back in and I managed to get it secured on the front tab and zip tied the rest to existing tubes in the tunnel. It's done! Not a huge deal.

I'm about to finish my parts order for the pan. I am hoping for a used pan that I can cut the battery section and jack post from. It is used, so the parts are period correct and they fit!
To fix "Napoleon's hat" I'm going to order two replacement pieces instead of the entire frame head. The hat itself and the bottom plate. The funny thing is, it's $100 in parts and I will use a very small amount of the actual sheet metal, but have to buy it because most used ones are rotten. Also, the steel is full of complex curves and can't easily use sheet metal stock to do it.
Paint got here today. So I am literally ready, going to see if maybe I can hold off on the paint a few more days until I can get the pan taken care of so I'm not working twice for no reason. Dry climate, keeping the pan clean, and if some surface rust does form I can wire brush it before I paint.
Tomorrow, I hope to have some parts on the way!
Subscribe to:
Posts (Atom)