Thursday, November 21, 2013

Bench - Finished and installed

Put a coat of satin polyurethane on the wood for some additional protection after a subtle tip was given (thanks Shawn!)


Loaded everything up and this is the nicest it will look.


Need to mount the vise and maybe a few little odds and ends, but I'm happy to move on from this project...to the ENGINE!

Wednesday, November 20, 2013

Work Bench - Pretty much done!

Over the past week or so I've been slowly assembling the work bench, ordered the metal top, installing accessories and getting everything fitting nicely.  I'm pretty happy with how it turned out.  I just need to put a coat of polyurethane on the wood parts and start hanging tools!  Engine restoration to follow!

Upright

LED lighting underneath top shelf

Another piece of plywood on top of this.

Top shelf legs

Waiting for my metal top

Tada!  1/8" aluminum.  Cheaper route, but won't rust.

Almost done

Where it stands today!
The leveling casters and LED lighting make it pretty trick.  I'm happy to have a good work space to start tearing down the engine.  I need to find a good stool to work with but so far so good!

I also won a super cool, restored vintage vise on eBay that will be a great addition to this bench and should last for years to come.


Wednesday, November 13, 2013

Diversion: Work Bench!

I think I've decided I am going to tear down the engine(s) and in order to do that successfully I need a nice, big place to work.  I decided to build a work bench and got plans.

I am going to use this design, except modified with leveling casters, LED lighting, a metal top, a 12 plug 4ft power strip, and some other things to make it my own.


I chose this design (and mods) because it has plenty of storage, a large 6ft by 30 inch work surface, place for lighting and tool organization.

Day one I cut some of the material and assembled the work area.  I had the bigger pieces of particle board and plywood cut at Home Creepo to have a more accurate cut.


And I assembled some more today.


These are my legs, modified to accept the mounting plate for the casters.

My lights will be here tomorrow and casters on Saturday.  My metal top should be ready Friday.  I ordered it from a local metal supply company and they are bending it to shape for me to create a nice front lip and back splash.  It hasn't been cheap but it has everything I want and will hopefully last a lifetime!

Friday, November 8, 2013

Day 48

Well, I have removed all the undercoating on the car.  After a few hot molten pieces of that rubber material dropped on my bare skin I was happy to be done with it.

The bug continues to rear it's ugly Florida head and I found some more Swiss cheese today.

This is the bottom of the spare tire well in the front of the car.
I also found the passenger side has been crunched in a bit.  It's hard to tell in these pictures but you can see an additional crease that shouldn't be there.  Will have to look at this further.
Passenger side.  Crease is centered in the picture running from 5 o'clock to 11 o'clock position.

Driver side
And finally, I cleaned the garage with the heavy duty garage floor cleaner, organized shelves, and got everything put back together.

Tomorrow I'm going to get my materials for the work bench.  I am also looking to put a stainless steel or aluminum top on it, which I attempted to do today but showed up too late at the steel place.  Will try again Monday.

Thursday, November 7, 2013

Day 47

Well today was another messy day.  And if I hadn't run out of propane for my torch it would have likely been the last undercoating removal day.  I finished both bottles (one was almost empty) and have the passenger side fender area on the body left to do.

Rear before

Rear after
Front before (still have this side left to do)
Front after

This was the mess after the rears were done.  I usually just throw the tarp out with the waste because it burns holes in it and makes it much easier to clean up.

I did get a bit disheartened today as removing that undercoating really shows all the stuff that is underneath it.  In other words, I'm slowly finding out that my Florida car is a Florida car.  Which is to be expected, I guess I was just a bit surprised when I did an initial inventory and found that it wasn't that bad.
Knew about this spot, have a patch panel on the way.  All the way around the driver's side A pillar.

Outside driver's side A pillar

This was a new one, this is the rear apron, the inside lip rusted off.

After using some compressed air to blow the car off this nice hole in the passenger side A pillar reared it's ugly head.  Much less severe than the driver's side.
And in retrospect, so far it still isn't that bad.  After the media blasting I will really be able to tell.  I compare this current rust-piphany similar to when I found the napoleon's hat on the pan needed replacing.  I made it work and all is swell now!

I removed the heater "mufflers" which help deaden some of the noise from the rear of the car.  Pretty simple technology that had it not been for the battery acid on the right side, would still be working well.  I should be able to fabricate these on my own out of upholstery matting and burlap.


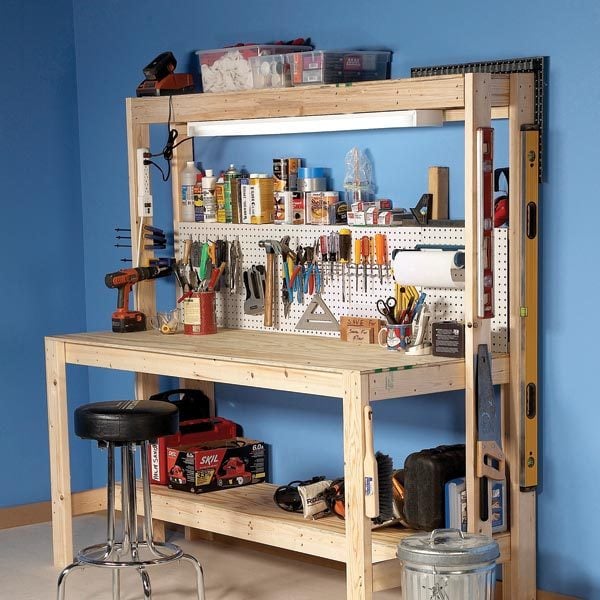
Going to get some spare propane, finish up the undercoating removal and then scrub the garage.  Then I'm going to build my workbench.  I'm slowly leaning towards engine dis-assembly before body work but we'll see.

Tuesday, November 5, 2013

Day 46

Well today I finished up the pan, tightening down the rear axle nuts to 217 ft/lbs of torque.  Got to use my fancy torque wrench so I was happy!  Then I filled the transaxle with gear oil so I won't have to worry too much about rolling the car around and running those gears dry.  I kept the oil inside the past few days to make sure it was "warm" so it would flow easily.  It has been chilly over night here so that would have slowed progress a bit.

I also started with the driver's side fenders removing the undercoating.  It took several hours but I believe it came out good enough for media blasting.


Some disguised rust that will need repairing.

Left fender isn't complete, right fender is.

Tadaaaaaa!

The mess.

The passenger side ones are the ones I sourced online.  They don't have undercoating which is good for me!

Next, I am going to get started on the body removing undercoating.  Once that is complete, I will deep clean the garage floor.  I'm waiting to do that because as you can see in the above picture, the undercoating is pretty nasty stuff.  Finally, I'll build my workbench!

And figure out where to go from there...body work or engine work!

Saturday, November 2, 2013

Day 45 - We have a roller!

Today, after many, many months the bug chassis rolled again.  It's a great feeling to get it to this point.  I have to tighten the rear axle nuts and put transaxle oil in.  Then I can put it on moving dollies and keep it out of the way.  It will need some touch up paint too.  And the brakes will be bled again just to be sure.

I also finished cleaning the bottom pan bolts.  Will need to source some original replacements as some were intact but had rusted threads or in some cases the bolt actually had lost about half it's diameter!  Some washers broken too.  Not too bad though.

I'm onto the body prep next before media blast, which means removing more undercoating.  After that is complete I'm going to completely clean the floor of the garage with a heavy duty cleaner.  Replace my walking mats and hopefully keep the dirt from coming in the house as much now that this dirty work is done.  I'm sure body filler dust will be just as fun :)

I'm also working on buying an extra cherry front hood.  Going to expensive but I think worth it.

Friday, November 1, 2013

Day 44

Well, once I get some wheels on the bug...it will be rolling again!  And stopping!

Today I got my tie rod in, so installed that and the steering damper.


Long rod is the one I was waiting for.  The other rod with the bulbous end and silver sticking out is the steering damper.

I also finished bleeding the brakes.


I installed the emergency brake and shifter so I could brake the car when I roll it around.  I wanted to make sure the transaxle was in neutral (not that it matters with no engine) but still.

These obviously still need to be restored.

I can happily say that at this point, I need to put some wheels on the thing and make sure it rolls!  Once I do that I'm going to start working on the body and getting it prepped for media blasting.

Also need to think about when to sequence my engine rebuild in this whole mess...

Exciting times :)