Well, I will admit progress has been slow. After sanding the blue gray parts, Caroline moved in and we were a bit busy being domestic.
 |
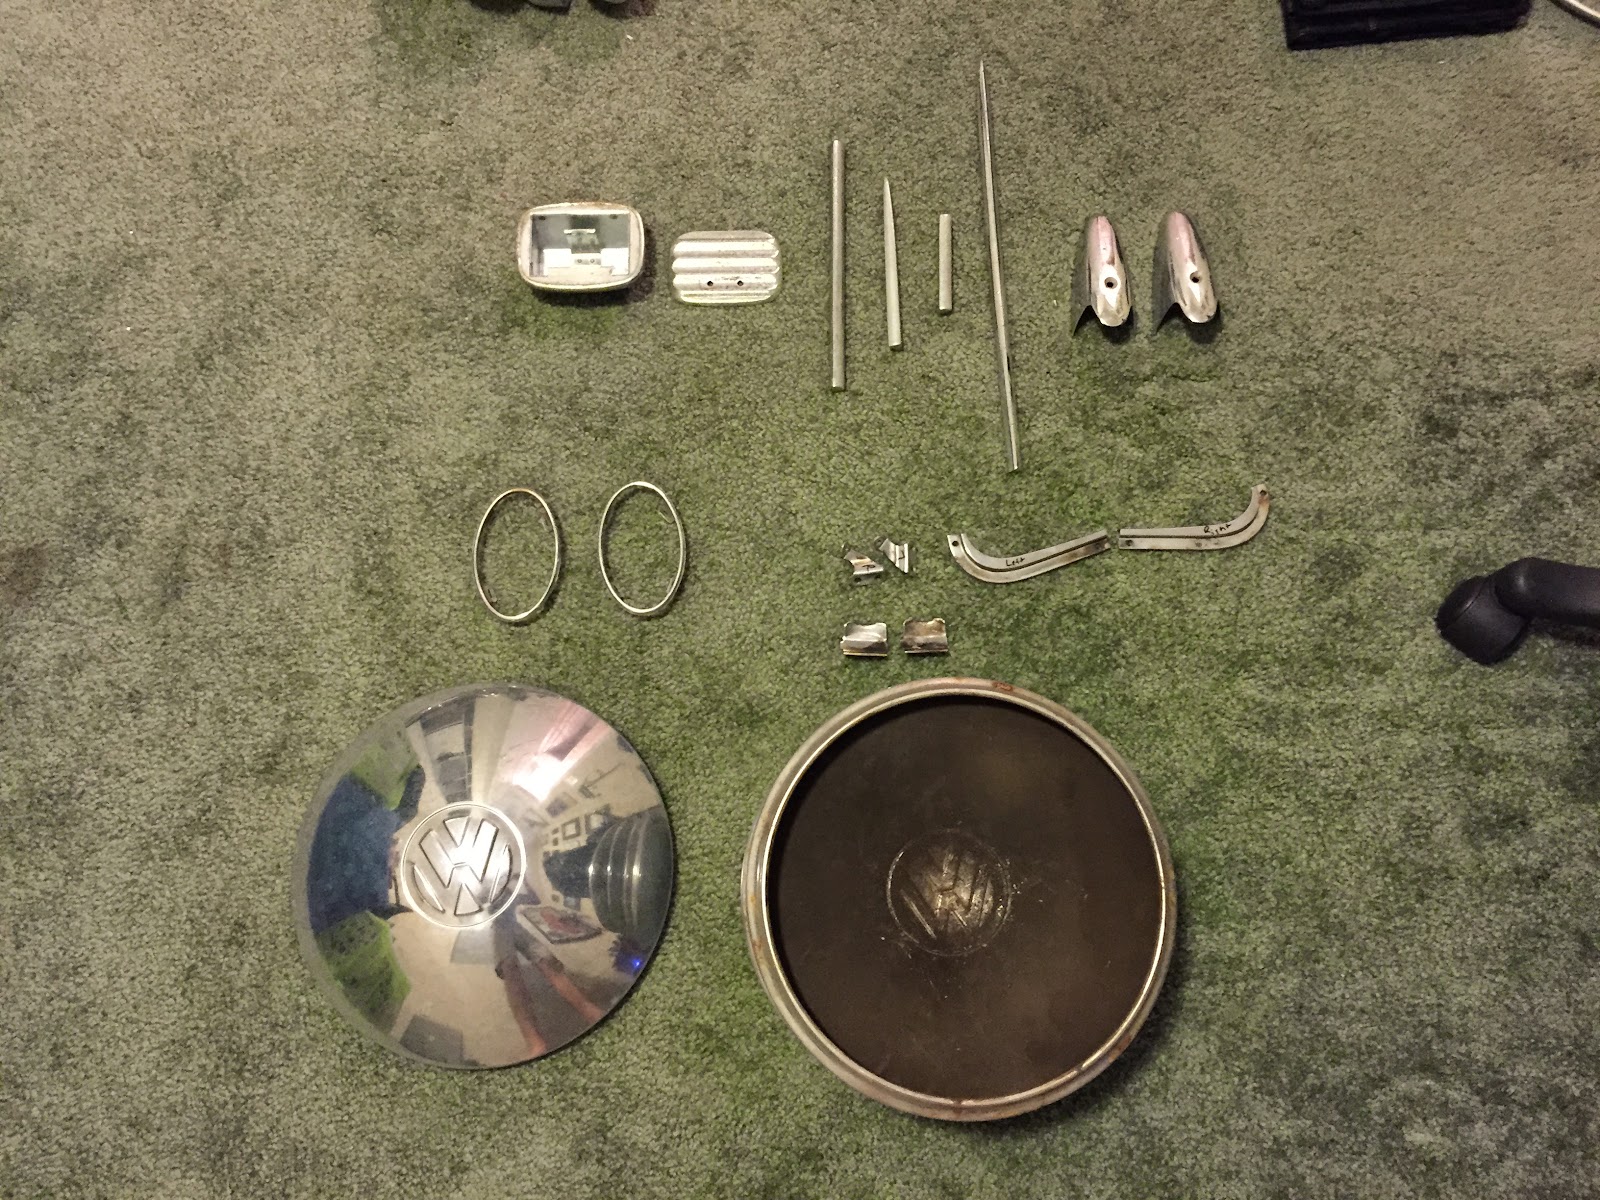
| Craigslist find! |
 |
| Ta-dah!! |
The weather was a bit windy last week too which makes trying to sand in the garage and mess and painting impossible.
Caroline found a car show two Saturdays ago which was a lot of fun too.
That being said I did get some things done.
The steering wheel and rear view mirror were sent out to
Koch's restoration service in California who are famous for their steering wheel restorations. They also do a great job on the mirrors. Mine is a bit corroded and needs some re-chrome. It is a 10 week turn around time. Which makes me think I need to start thinking about my interior and the chrome parts since they will take a while too.
I also got some parts of the headlights painted their original metallic silver. The inside of the headlight and also the retainers on the back are all in a silver. Luckily Rustoleum makes a very close color match and they turned out nice. I did have some runs on the first spray, so I had to sand and re-apply. They look great now though. The outsides of the buckets still need to be painted black.
I also worked on my glove box. The story here is that as a dumb teenager I wanted an iPod to be hidden in my glove box. I built a 6v amplifier for it and it worked great. When installing it into the glove box though, I pulled the wire through that was connected to the speaker. That damaged the cardboard. I didn't care or realize at the time that these cardboard glove boxes are impossible to find in good condition. So I went about repairing it as I discussed in the last post.
Other than the damage, it is in excellent shape. These were one of the first things to go as they are made of pressed fibers, much like high density cardboard. Moisture doesn't go well with that. Mine, fortunately, is in great shape.
To repair the cardboard I decided to take some brown paper bag and grind it up to make a pulp. Then I used modge podge paper mache glue to hold it all together.
 |
| mmmmmmm, delicious. |
 |
| The tools. The clear acrylic is to seal the cardboard before I do the flocking. |
I compressed out most of the water from the fibers and then split them up a bit. I mixed them with the glue and they became less clumpy and a better binding material.
 |
| The first run came out pretty good. I did need to do another couple times to get it level but not bad. Sanding in between coats. |
 |
| I custom mixed some craft paint to cover the repair area. And in reality this will be covered up by the flocking anyway but to make sure it is consistent I wanted to paint it. |
I'm very happy with the results. The repair is firm and very much like the original material. I am going to paint the outside of the glove box blue gray (like the gas tank) and then will be able to do the flocking on the inside. The material I have for that is a tan color very much like the original. I have another glove box I bought a while back that I will likely do the same thing to and try to sell it for a profit!
Yesterday, I bought two Mexican reproduction windshields. They were a great price ($40 for 2!) and one is in better shape than the other. They are new and unused but one has a nick and pit. As you may remember I got an original logo VW windshield (below) but it is not exactly correct for my year. The logo is also really hard to see.
 |
| Used original one. |
My plan is to make one of them good for my car and then sell the nicked one. I have found the correct logo and my plan is to use glass etching solution and a rubber stamp (still have to find someone to custom make the stamp) to recreate the original logo. If it works...it will be super cool!
Long story short on the logo is I actually took this picture below and cleaned it up in Photoshop. I then sent that off to a friend who was going to help me by getting it cut into a vinyl stencil but the letters ended up being too small. In the process though, they cleaned up the image even more. So I can use the latest image to hopefully get a stamp created. I'm making slow progress there!
 |
| Found this logo online. |
 |
| Cleaned and brightened it up to this. |
 |
| And this is the final logo my friend helped with I will etch onto the glass...somehow. |
So, that is an update as to the small projects I've been working on. Today I did some more sanding on parts to get them ready for more coats of paint. I only have a few more to go. My plan is tomorrow to finish the sanding and then clear out most of the garage for a good wash down. Then I'll hang up the plastic and get to the painting!