Monday, August 29, 2016

Day 220 & 221

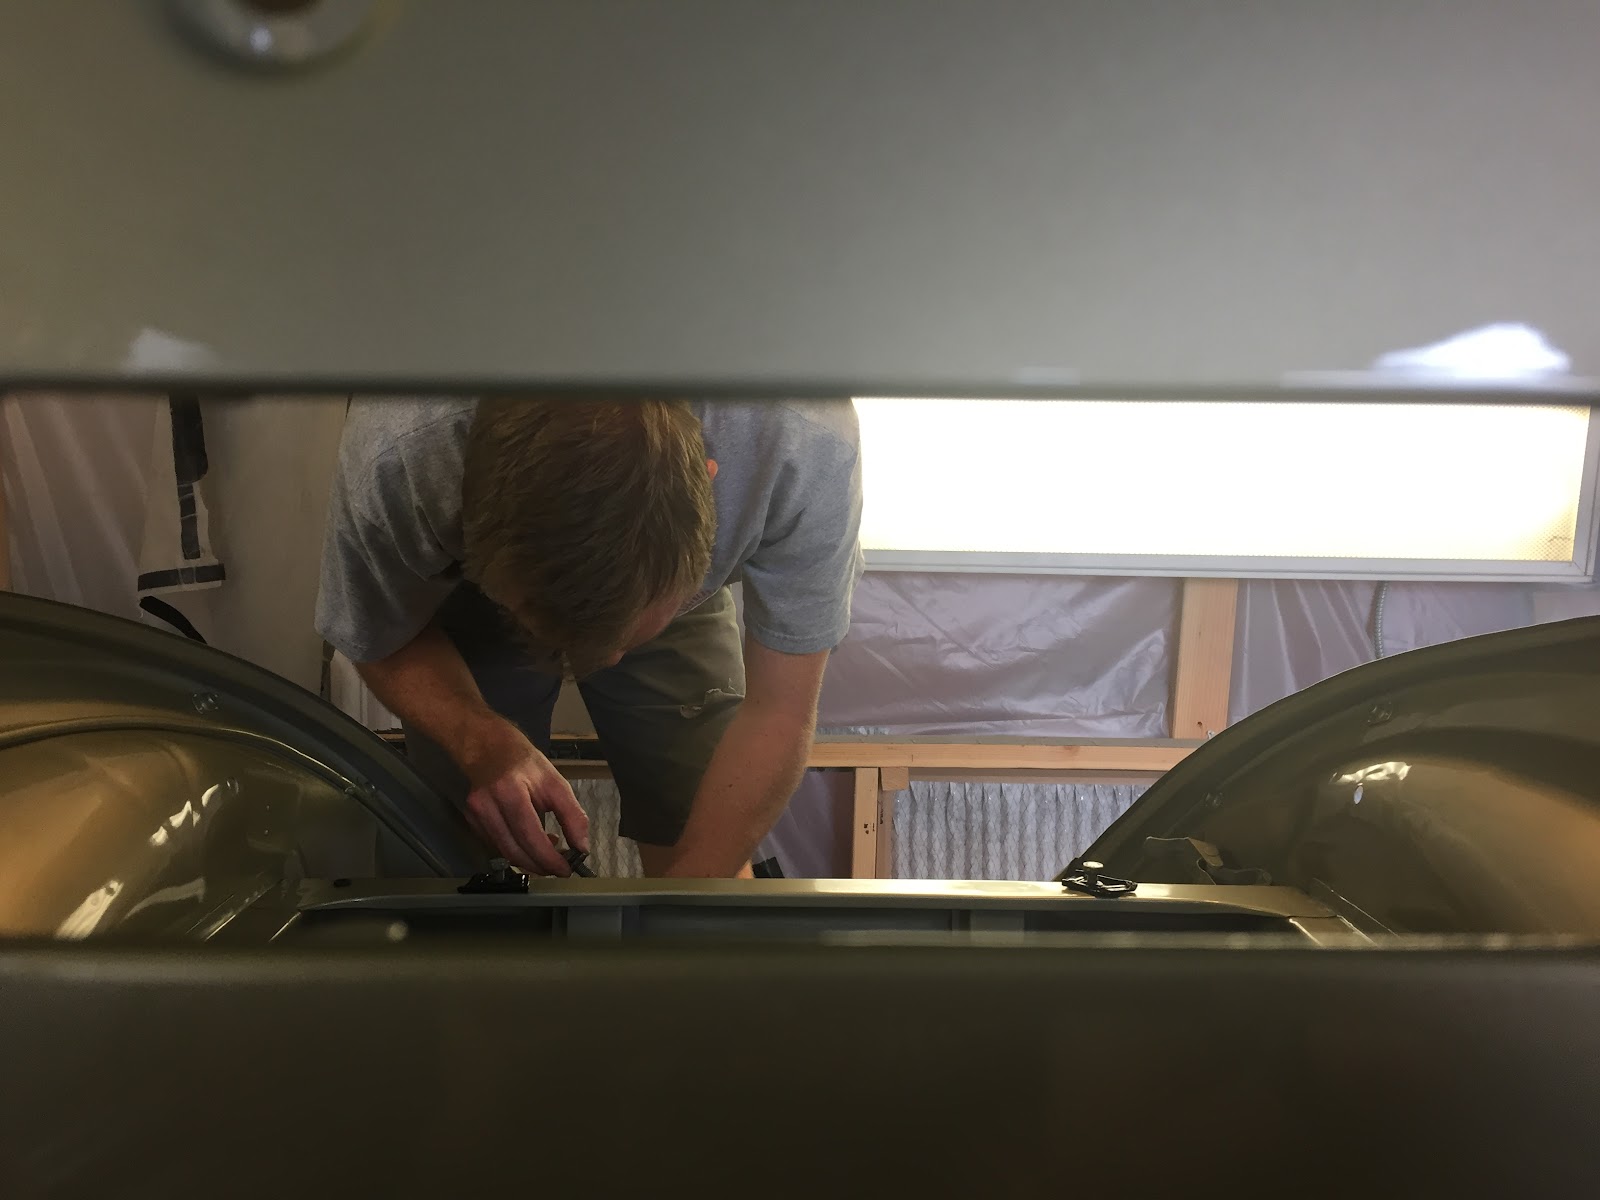
The past couple of days I've started color sanding the car.  I started with the decklid and it polished out smooth but have some swirls that I need to take care of.  I think I didn't spend enough time with the 1500 and 2000 grit paper so the sanding scratches from the 1000 grit are still visible after polish.
If you look hard enough you can see some swirls in the light.  The orange peel is gone, however, and it is very shiny!
I'm relatively happy with how it came out.  I did burn through the paint on the bottom of the decklid.  A little touch up should fix it.  Kind of a bummer but it isn't a new car and it's my first time, so eh!

I color sanded and buffed most of my small parts today.  The speaker and gas gauge (my car doesn't have one) grills.  The radio delete plate and the ash tray cover.  I ended up sanding through on the ash tray cover too!  It's also on the bottom and you won't see it.  Moral of the story, I was probably a little too light handed on the paint when I sprayed it.  Lesson learned!

Here's the rear taillights on a before and after.  Can you tell which one wasn't buffed yet?

I re-adjusted the passenger side door as it was sticking out a little proud on the top and got some random odds and ends done.

I also have been trying to get my bluetooth amplifier working.  I got a kit and put together a 5w stereo amp and it works, but only on 12v.  So that was a bummer.  Then I tried hooking up a bluetooth receiver and no joy there!  So, I think I am going to scrap this project and I found another solution I'm going to try which has both the amplifier and bluetooth all in one.  We'll see!


Hopefully I will get the decklid re-polished out and then onto the hood, fenders, and body!

Sunday, August 14, 2016

Day 219

More work yesterday.

I finished some more wiring and the wiring harness for my accessory 3rd brake light.  Not an original piece, but disguised to be pretty stock looking and also able to be removed if necessary.


This wire will allow me to disconnect the brake light and remove it while the wire stays hidden.

I also got the door latches and strikers install.  The doors line up nicely and close well.  The insulation inside the doors give them a less tinny sound.


I also installed the original coconut fiber backing strips for the engine compartment tarboard.  I like reusing these original pieces as it retains the car's character.


I also placed several orders for some finishing parts.  I'm kind of at a stopping point until I get them.

First, I ordered the padding for the headliner and will install that.  I also ordered all the materials necessary to polish the paint.  A new buffer, the compounds, and pads.  I even got some smaller pads for the tough to reach areas.

Finally, once that is done I can continue with the rubber pieces.  Unfortunately, I can't do much interior wise until I get my vinyl picked out.  I need to compare the custom matched vinyl to the headliner samples before I can order that.  I hope to have an answer on when it will be available soon or I may just end up going with a less perfect match on vinyl and just getting it done.

Thursday, August 11, 2016

Day 218

Today I got quite a bit accomplished.

First I adjusted the doors again and they are opening and closing now with no rubbing and very minor creaking noise on the driver's side door.  It won't be an issue.

I did however, get a little nick of paint so some touchup will be necessary.  ;(


I also put in the sound deadener and it turned out pretty good.  It's in the doors, rear quarter panels, and the center tunnel.


I also replicated the original factory markings.  Not sure what they mean but they are reproduced!


during teardown


And I started running the wiring harness.


I called my vinyl supplier and checked on my vinyl, they don't have a timeline.  I need it now because it is holding up my progress.  I will make a decision on whether or not to continue trying to use them or just go with an off the shelf vinyl.

I will finish the wiring as much as I can, the padding for the headliner and carpet, and think I will start cutting and buffing the paint job.

Thursday, August 4, 2016

Day 217 - BODY PAN BACK TOGETHER!

Reunited and it feels so good!  1178 days or 3 years, 2 months, 21 days since these two pieces have been together.

Not a lot to say.  Had to rebuild the steering box again as it was leaking.  Used a special style semi-fluid grease used for older cars and it worked perfectly.

Had a buddy from work and a future co-worker help lift the body.  Preparation was on point and NO issues getting the two back together.

Tomorrow I'm going to take down the paint booth and that should give me a lot more room to work with.  Then onto the wiring harness and further!

Caroline got a little artsy with her pictures.  :)


Saturday, July 9, 2016

Day 215-216

Well yesterday and today I replaced the front beam seals.  Greased everything up and tightened everything down.

I got the pan seal installed and put some random seals in around the body.  I also got the engine seal installed.

Overall solid progress and at this point I think I'm ready for the body going back on the pan!

Waiting for a few days to see if I can think of anything I missed but looking forward to more progress!


Thursday, June 30, 2016

Day 214

Started cleaning up the pan today getting ready for the body rejoining the pan.

I was able to get the body off of my improvised bolts which kept it off of the dolly.  It is now free to move up and down with some brute force!

I also removed the engine from the pan, replaced a clutch boot, and rubber steering coupler.  I trimmed the fuel line to the proper length, and removed and clear coated the master cylinder so it wouldn't rust.

I started the wipe down and it was pretty dirty.  It's been assembled for about 2 years now so all that dust, dirt, and grime needed a good cleaning.

Unfortunately while cleaning, I discovered one of the dust seals on the front beam had split and was no longer holding the grease in.  It's a cheap seal, but to replace it is going to require dissassembly of almost the entire front beam.  Good news is the pan and body are still not together so it makes the job easier, bad news is it is likely an all day event.  :-/

I still need to clean up the pan, paint some chips, get the pan seal installed, and replace the seal.  They are going to have to come from a vendor in California and it's a holiday weekend so probably another week plus before the body can be installed on the pan.

Wednesday, June 8, 2016

Day 213

Paint is done!  I'm pooped.

Photo by Ponso