Saturday, May 9, 2015

Day 151

Well today I got some real progress done!  I woke up to reasonably warm temperatures.  I thought it would be too cool so I turned on the lights in the garage and my space heater to get things warmed up.

I got the booth all put together which is sort of a process.  The cars have to be moved out of the driveway, the pan and body moved out of the garage, the area set up, the parts cleaned and brought in, and then the front "door" closed and taped up.  But it works well and I'm happy with it this time!

I got most of the parts that I need to epoxy prime before a color or just finished taken care of today.

Wheels, driver's seat pieces, random odds and ends here and there.

My gun initially malfunctioned which I think was a combination of the fluid tip not being screwed on tight enough and also some old paint material in the gun.  I ended up stopping before I even started, cleaned the gun real well and back to painting.

A couple runs here and there but much better than last time.  I also had some lifting because the wax and grease remover wasn't completely out of the wheels cracks and crevices.  They were just blasted so I soaked them good and wiped them out.  I also blew air on them but didn't get it all.  A little extra prep before final paint now.  Oh well, live and learn.

I also got the trims put on my running boards.  It was easy and I needed to kill time while I was waiting for paint to dry.

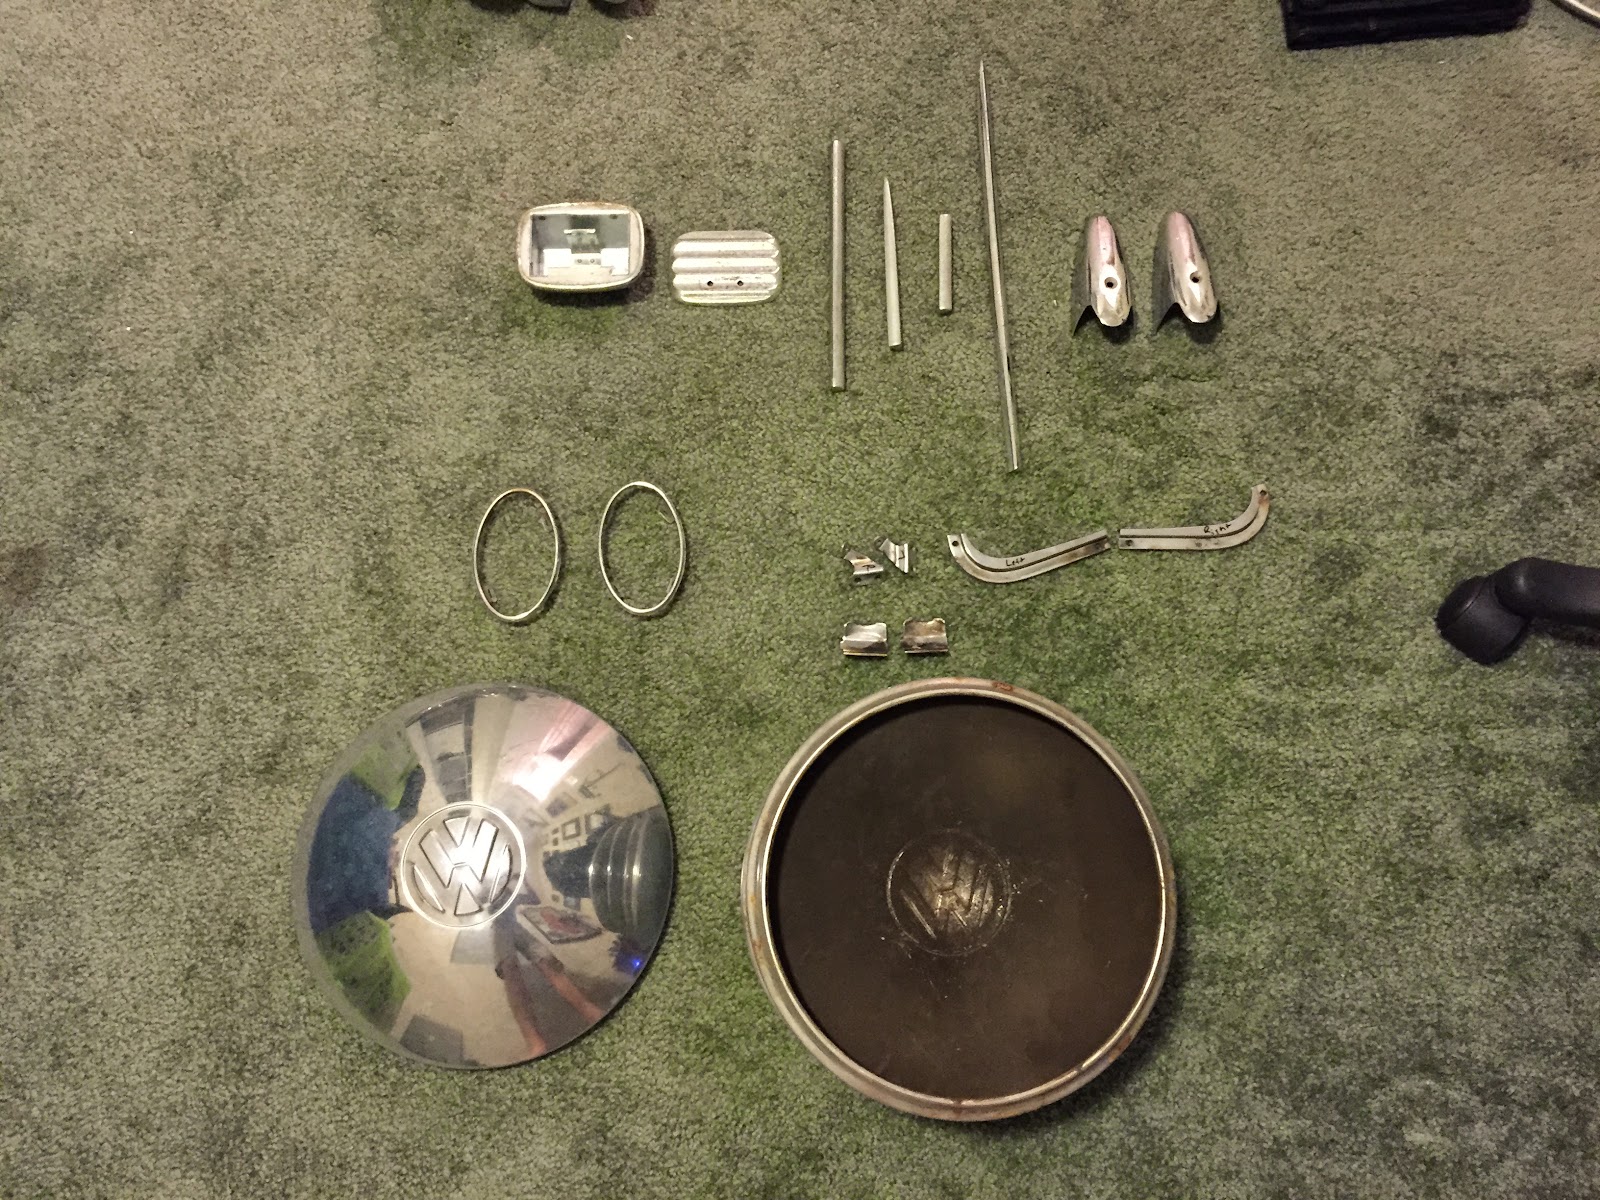
Anyway, prepped some parts for my first color run!  It is blue grey which is a matte finish and more or less looks like primer.  Here are the parts it is going to be used on.


The paint should look like the bottom right glove box.

Excited to see progress!

Thursday, May 7, 2015

Day 150

Well spring has sprung here in Las Vegas and that means WIND!  For the next several days they are calling for winds anywhere from 25 - 40 mph which pretty much kills getting any painting done.  Reason being is I can't hardly get the booth tidy and dust free enough to close it up, let alone keep it that way when it's windy outside.

So, for now I've been finding various projects to keep me entertained and busy until mother nature is ready to paint.  And of course, I have plenty of time because of my schedule as of late.  Which is good and bad :)

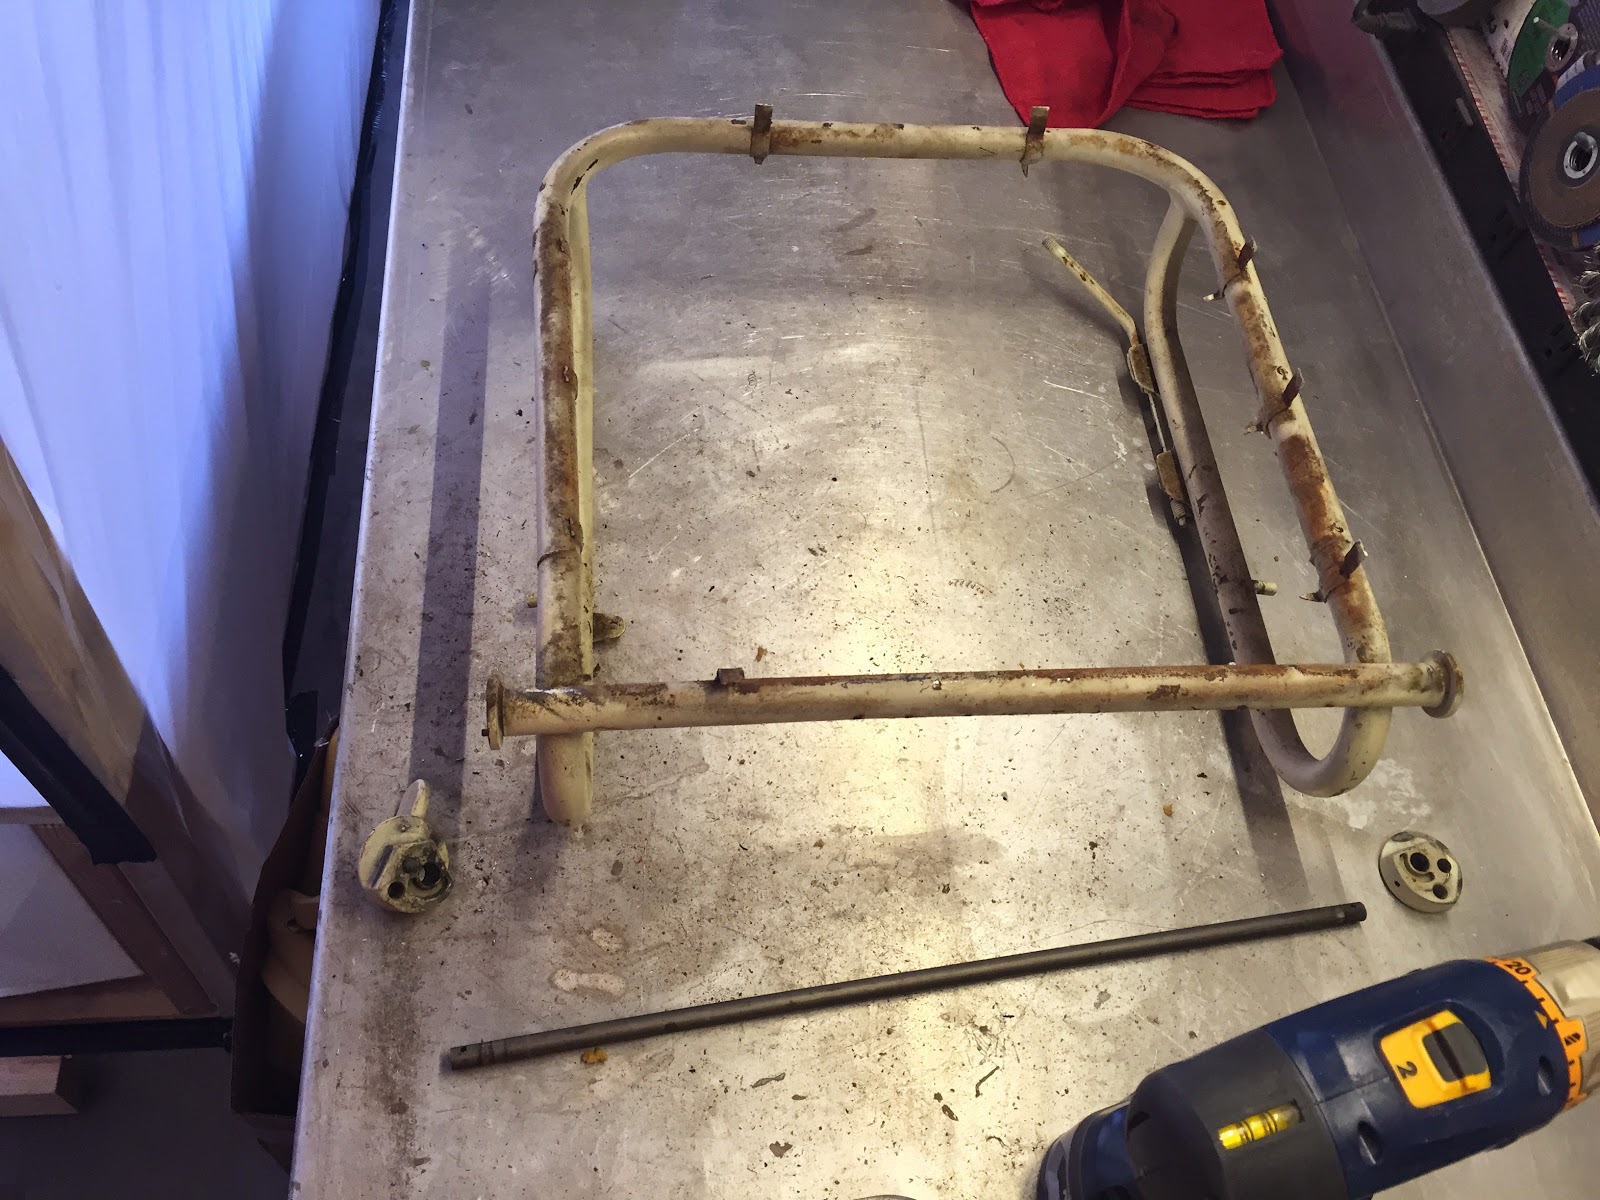
Today I removed the emergency brake handle, shifter, and driver's side seat and got them glass bead blasted and cleaned up.  The handle and shifter were no big deal.  However, the seat and its components barely fit in the blast cabinet which makes it difficult to maneuver.  After some jostling around, I got it all cleaned up and ready for primer.

The seat bottom has hooks and tabs that retain the bottom spring section as well as the vinyl seat covering.  After a couple open/closing cycles these small metal pieces get fatigued and break off.  Luckily, I made some extras when I did the passenger seat and the repair process was pretty straight forward this time.  Drill out the old spot weld, weld in the new one.

I really have nothing left to do before paint.  So the weather just needs to cooperate.  Oh yeah and along with the wind picking up the temperatures are dropping a bit too.  Tomorrow is a high of 63.  So my paint mixing won't work because the temperatures are too cool!  I bought the stuff designed for 90+ degree heat...who knew!?  Don't worry it'll be back to normal Monday.  :)

Wednesday, May 6, 2015

Day 149

Well today I finished up most of the paint booth.  The only thing I have left to do is get some velcro for the front flap/door.  All the plastic is hung. 

Lights are hooked up, got my painting tables ready.

Tomorrow I'm going to prep and get the booth ready and probably spray some epoxy primer on the wheels and some other small parts.

Tuesday, May 5, 2015

Day 147 - 148

The past couple work days I haven't been painting but getting ready to do so.

First, I had to think and think and thinkkkkkkk about getting my paint booth set up again.  Last time it worked ok but suffered from two problems.  First, the garage door wasn't able to be opened when the booth was set up.  Kind of silly and made for loading the booth a real pain.  Also, I only had front and back walls with no structure for the sides.  This caused the sides of the booth to suck in under the exhaust fan's pressure.  It made maneuvering in the booth more difficult.

So I went to bed with it on my brain.  Woke up and thought about it for a while and then just went into the garage and sat in a chair and thought some more.  I finally had my "eureka!" moment and went to Home Depot for supplies!


I basically constructed the back half the same way I did previously.  However, the front half I lowered the ceiling of the booth so the garage door could go above it.  As always it's fun lifting 2x4x12's above your head, by yourself but made it work with ladders, clamps, and screws.  I'm very happy with how it turned out.


Today I finished up some small projects and then also started putting the booth together.

I was able to create the leather washers that are inside each door and the check rod which prevents the door from swinging open in a breeze.  The leather washer prevents moisture from getting inside the door.

I had to source some belt leather used to make machinery belts from an online source.  It is the right thickness and high quality.  Then I punched out a hole big enough for the check rod and ended up taking some black paint and dyed them.  I tried shoe polish and it wasn't the best.  I wanted them black like original and it's not a show piece inside there, so a little spray paint is fine!
Top one is the old one, hole widened out of 50+ years of use.

I also was able to clean my original 4 tab emblem.  I got this online, but it was tarnished and a red/brown color.  These are hard to find original and when you do, expensive.  I found this piece a yar ago and got it for $25.  Most are 75-100.  Reproductions are around $35 but have noticeable differences and are too shiny for original style.


I tried buffing it a few months ago and it was marginally better.  Well, I got my new hood trim and it was drastically shinier than this piece.  So I went back at it today shining it with my Dremel.  It still didn't work that well so I Googled how to brighten aluminum and found that if you soak the piece in some drain cleaner it will remove annodization and bring back luster.

I did that, polished it again, and am very happy with the results.  And it's an original German piece!


I also got some plastic up on the booth and hung 3 out of my 4 florescent lights.  I still have my 4 LED flood lights, one halogen flood, the overhead fan light, and one clip on light.  I shouldn't have any shadows while painting :)


I ran out of staples, so I will finish up the plastic and get ready to shoot some small parts soon.

Wednesday, April 29, 2015

Day 146

Another successful and tiring day!

Today I finished up the last of the sanding of my parts.  The reason why all the parts had to be sanded was because there was not a sufficient mechanical bond for the next layer of paint.  All the parts were sand blasted which gave them a nice tooth for the epoxy primer.  But after about 3 days in primer, it needs to be scuffed up again in order to take the next layer of paint.  And yes, it's been a bit longer than 3 days since I primed them!

I also cleaned out the garage and straightened things up.  I removed as much as I could and then vacuumed, blew out, and wet wash with a good degreaser on the floor.  The idea here is to hopefully get it clean so there is minimal debris in the final paint job.  It took quite a while.


I had to tear into my compressed air dryer a bit because it's water separator was full.  It is supposed to have an auto drain which was not working.  I'm still looking into it.  Worst case is I can convert it to a manual drain, no big deal.

I also started getting quotes on chrome for the car.  This will be a significant expense.  Especially considering all the pieces!


And I also started looking at interior prices.  Another significant chunk of change.

Next work day I hope to get some actual painting done!  Maybe.

Tuesday, April 28, 2015

Day 143-145

Well, I will admit progress has been slow.  After sanding the blue gray parts, Caroline moved in and we were a bit busy being domestic.

Craigslist find!


Ta-dah!!

The weather was a bit windy last week too which makes trying to sand in the garage and mess and painting impossible.

Caroline found a car show two Saturdays ago which was a lot of fun too.

That being said I did get some things done.

The steering wheel and rear view mirror were sent out to Koch's restoration service in California who are famous for their steering wheel restorations.  They also do a great job on the mirrors.  Mine is a bit corroded and needs some re-chrome.  It is a 10 week turn around time.  Which makes me think I need to start thinking about my interior and the chrome parts since they will take a while too.

I also got some parts of the headlights painted their original metallic silver.  The inside of the headlight and also the retainers on the back are all in a silver.  Luckily Rustoleum makes a very close color match and they turned out nice.  I did have some runs on the first spray, so I had to sand and re-apply.  They look great now though.  The outsides of the buckets still need to be painted black.


I also worked on my glove box.  The story here is that as a dumb teenager I wanted an iPod to be hidden in my glove box.  I built a 6v amplifier for it and it worked great.  When installing it into the glove box though, I pulled the wire through that was connected to the speaker.  That damaged the cardboard.  I didn't care or realize at the time that these cardboard glove boxes are impossible to find in good condition.  So I went about repairing it as I discussed in the last post.


Other than the damage, it is in excellent shape.  These were one of the first things to go as they are made of pressed fibers, much like high density cardboard.  Moisture doesn't go well with that.  Mine, fortunately, is in great shape.


To repair the cardboard I decided to take some brown paper bag and grind it up to make a pulp.  Then I used modge podge paper mache glue to hold it all together.


mmmmmmm, delicious.

The tools.  The clear acrylic is to seal the cardboard before I do the flocking.

 I compressed out most of the water from the fibers and then split them up a bit.  I mixed them with the glue and they became less clumpy and a better binding material.


The first run came out pretty good.  I did need to do another couple times to get it level but not bad.  Sanding in between coats.


I custom mixed some craft paint to cover the repair area.  And in reality this will be covered up by the flocking anyway but to make sure it is consistent I wanted to paint it.
I'm very happy with the results.  The repair is firm and very much like the original material.  I am going to paint the outside of the glove box blue gray (like the gas tank) and then will be able to do the flocking on the inside.  The material I have for that is a tan color very much like the original.  I have another glove box I bought a while back that I will likely do the same thing to and try to sell it for a profit!

Yesterday, I bought two Mexican reproduction windshields.  They were a great price ($40 for 2!) and one is in better shape than the other.  They are new and unused but one has a nick and pit.  As you may remember I got an original logo VW windshield (below) but it is not exactly correct for my year.  The logo is also really hard to see.


Used original one.

My plan is to make one of them good for my car and then sell the nicked one.  I have found the correct logo and my plan is to use glass etching solution and a rubber stamp (still have to find someone to custom make the stamp) to recreate the original logo.  If it works...it will be super cool!
Long story short on the logo is I actually took this picture below and cleaned it up in Photoshop.  I then sent that off to a friend who was going to help me by getting it cut into a vinyl stencil but the letters ended up being too small.  In the process though, they cleaned up the image even more.  So I can use the latest image to hopefully get a stamp created.  I'm making slow progress there!
Found this logo online.

Cleaned and brightened it up to this.
And this is the final logo my friend helped with I will etch onto the glass...somehow.
So, that is an update as to the small projects I've been working on.  Today I did some more sanding on parts to get them ready for more coats of paint.  I only have a few more to go.  My plan is tomorrow to finish the sanding and then clear out most of the garage for a good wash down.  Then I'll hang up the plastic and get to the painting!