Started cleaning up the pan today getting ready for the body rejoining the pan.
I was able to get the body off of my improvised bolts which kept it off of the dolly. It is now free to move up and down with some brute force!
I also removed the engine from the pan, replaced a clutch boot, and rubber steering coupler. I trimmed the fuel line to the proper length, and removed and clear coated the master cylinder so it wouldn't rust.
I started the wipe down and it was pretty dirty. It's been assembled for about 2 years now so all that dust, dirt, and grime needed a good cleaning.
Unfortunately while cleaning, I discovered one of the dust seals on the front beam had split and was no longer holding the grease in. It's a cheap seal, but to replace it is going to require dissassembly of almost the entire front beam. Good news is the pan and body are still not together so it makes the job easier, bad news is it is likely an all day event. :-/
I still need to clean up the pan, paint some chips, get the pan seal installed, and replace the seal. They are going to have to come from a vendor in California and it's a holiday weekend so probably another week plus before the body can be installed on the pan.
Thursday, June 30, 2016


Wednesday, June 8, 2016


Monday, June 6, 2016
Day 211-212
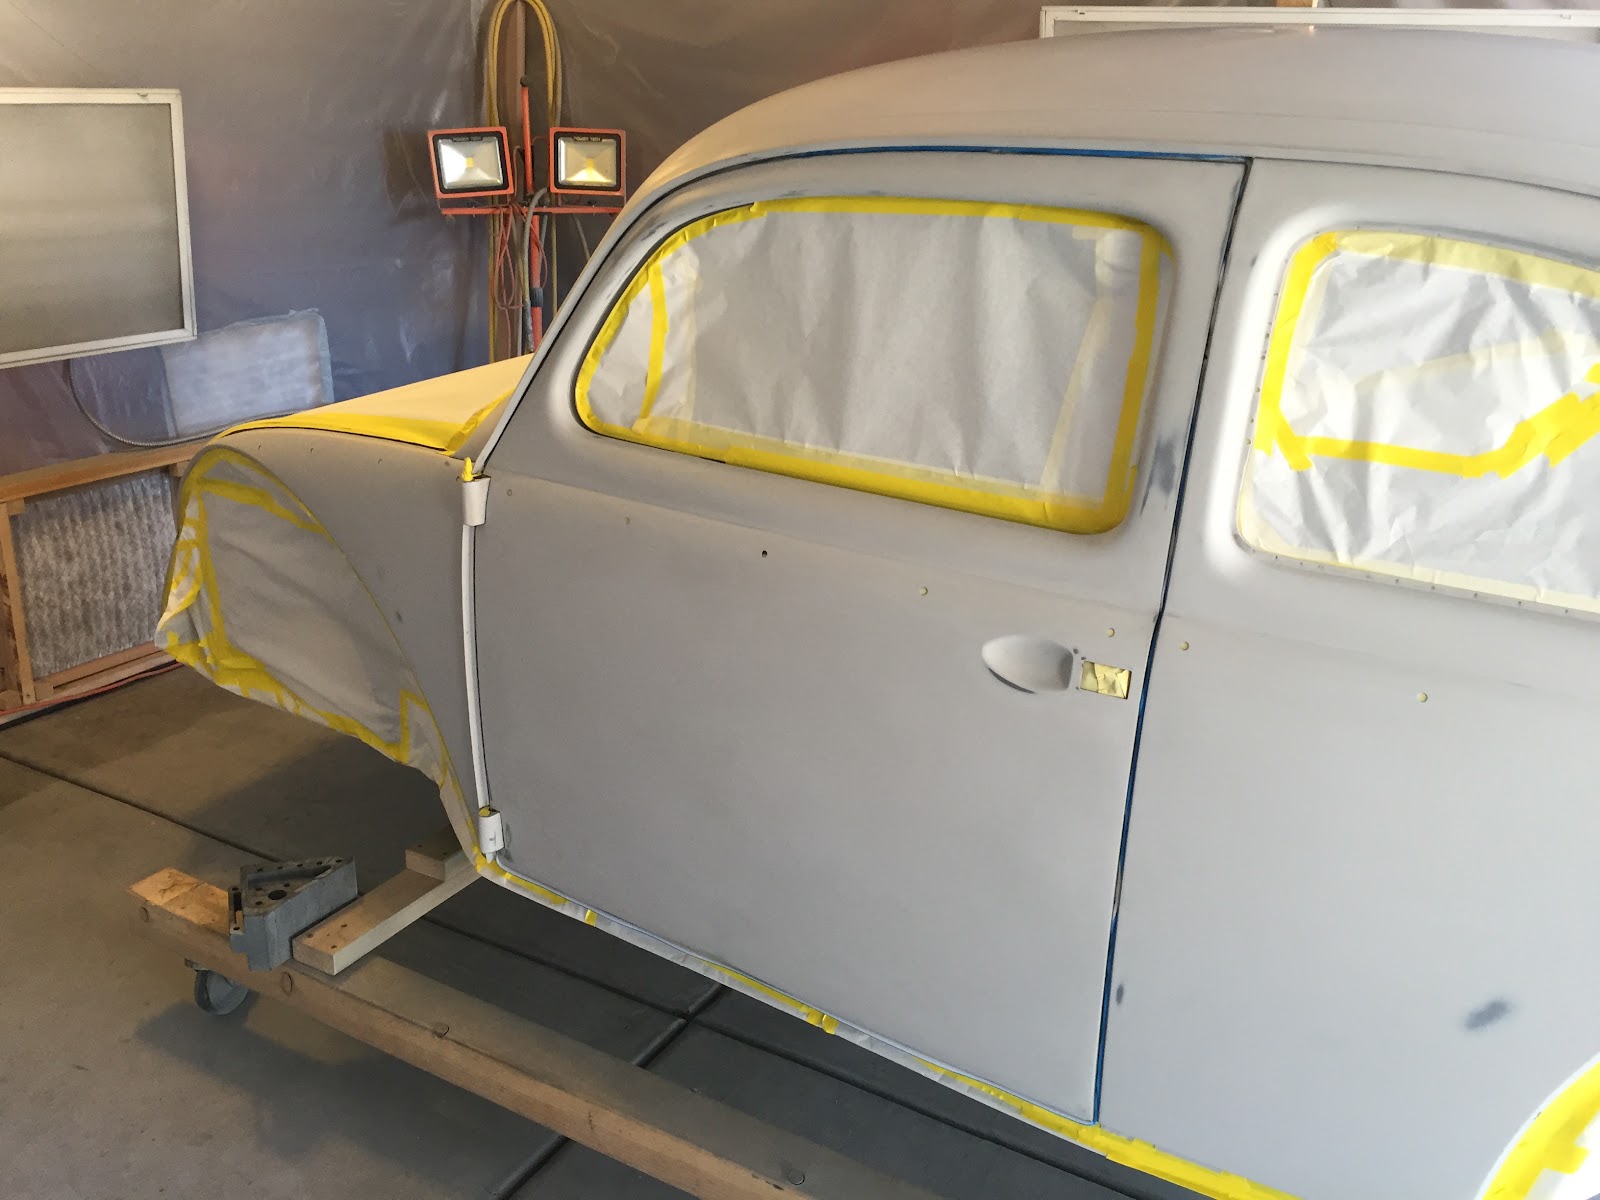
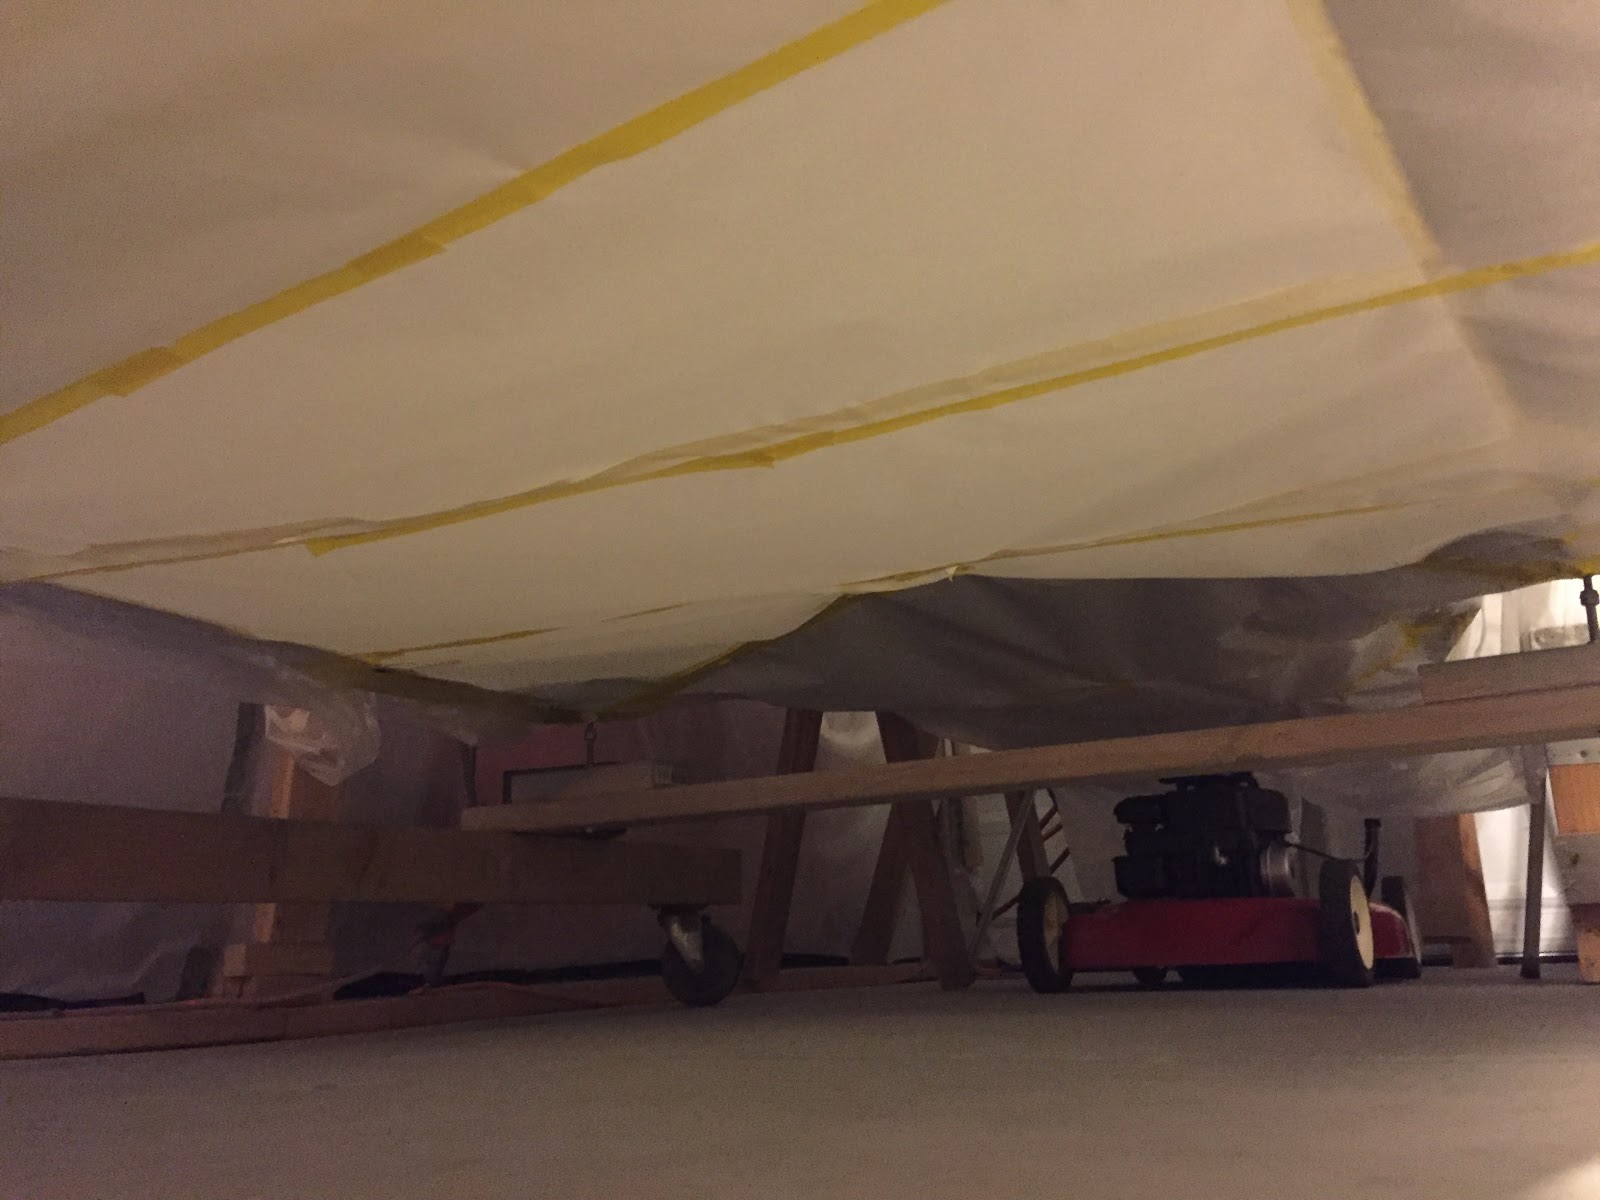
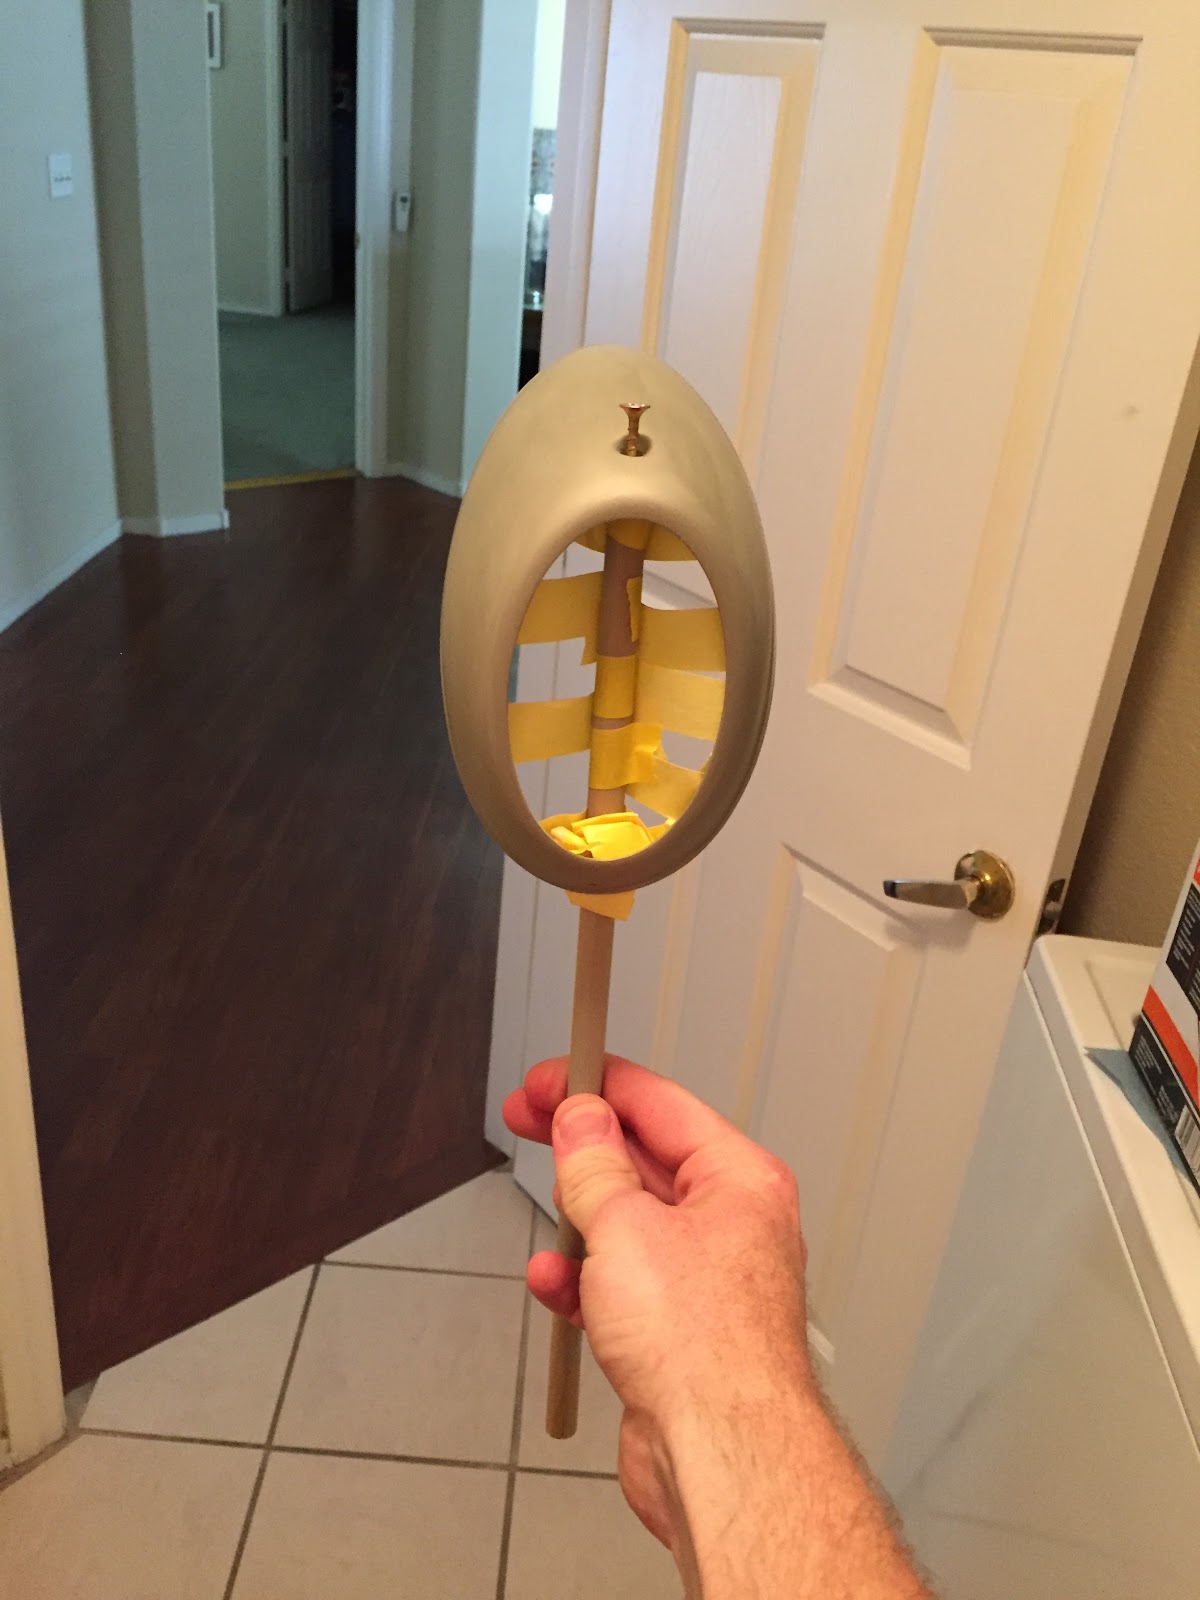
Past couple days I masked the parts for the final coat of paint on the outside.
Not a whole lot to mention, enjoy the pictures!


Not a whole lot to mention, enjoy the pictures!


 |
| warm. |



 |
| special foam tape to seal the gaps and hopefully not leave a hard edge. |


 |
| foam tape. |
 |
| I didn't good coverage the first time I tried to paint these... |
 |
| reclaimed step stool for getting the roof. |
Friday, June 3, 2016
Day 209 - 210
Much progress to report!
I have started painting the car and it has turned out very well. Happy with most of the results although my technique could always use improvement ;)
I started getting the bumpers in the special rust preventative paint on the back sides. The claim to fame is it won't rust beyond the scratch and since the bumpers were originally painted from the factory and I won't be able to wax the backsides this was a good process!


Day 1 of painting the car went pretty well. I started off with the small parts, undersides of the fenders, hood, and decklid. For the most part it turned out okay, I had a couple runs and dry spots. Just getting my technique back I guess. Luckily it's all on parts that won't be seen.


The final color in the sun.


Today, I was able to get the inside and underside done. Minimal runs, good coverage, very happy with the results.
I did get another quart of paint and hardener to finish up my 1.3gals of clear. I was originally thinking 1 gal of paint would be ok, but it looks like I may need more and don't want to stress about not having enough paint come the end of the project.
I have started painting the car and it has turned out very well. Happy with most of the results although my technique could always use improvement ;)
I started getting the bumpers in the special rust preventative paint on the back sides. The claim to fame is it won't rust beyond the scratch and since the bumpers were originally painted from the factory and I won't be able to wax the backsides this was a good process!


 |
| This shows the hammer marks on the BACK side of the bumper used to get the front side looking real pretty. |

Day 1 of painting the car went pretty well. I started off with the small parts, undersides of the fenders, hood, and decklid. For the most part it turned out okay, I had a couple runs and dry spots. Just getting my technique back I guess. Luckily it's all on parts that won't be seen.


The final color in the sun.


Today, I was able to get the inside and underside done. Minimal runs, good coverage, very happy with the results.
 |
| Fender well, minimal orange peel, happy with the results. |
I need to now reverse mask all the areas I just painted and hopefully get the last part done soon! Hang the fenders, hood, and decklid and shoot!
Monday, May 23, 2016
Day 207 - 208
The past couple days I've focused on getting the doors hung and unfortunately, the pins did not fix the sag. It's an old car and I'm going to have to live with it.
The body is off the pan currently too, so it is near impossible to align the doors until everything is bolted down.
Anyway, the driver's side is all good and I had to make two 18ga steel shims for the bottom passenger side as it wanted to rub on the heater channel.
I am literally ready to paint. Now to find the time, weather, and courage!
The body is off the pan currently too, so it is near impossible to align the doors until everything is bolted down.
Anyway, the driver's side is all good and I had to make two 18ga steel shims for the bottom passenger side as it wanted to rub on the heater channel.
I am literally ready to paint. Now to find the time, weather, and courage!
Saturday, May 21, 2016
Day 206
12hrs in the garage yesterday...for four door pins!
A long day for sure but I had quite the task. I had to remove my donor hinges from the banged up doors, drilling out the rivets, repairing some slight tool markings with my welder, grinding them down, media blasting them, reaming, painting, and then install. I had to remove the bad hinge from my passenger door which also took a while as I wanted to be very careful.
This tool helped big time removing some of the stubborn pins!


I got 3 of the 4 pins in and still had the driver's top side to go. This requires a special pin that supports the rear view mirror. So, using some ingenuity I took the good threads from my bad pin and welded them to the top of the new pin. Turned out pretty good. I ended up having to weld the threads on 3 times before they finally worked. Every time I went to pound the pin in the weld cracked. A hassle but well worth it in the end.


In other news, I also got the bumpers back from the chromers and they look great!


Weather has been great recently. Looking to get the doors mounted again, clean the booth and shoot some paint! I also have to paint the backside of the bumpers with the same paint I used on the pan to prevent them from rusting since it's hard to get a good coat of wax on them.
Moving along...
A long day for sure but I had quite the task. I had to remove my donor hinges from the banged up doors, drilling out the rivets, repairing some slight tool markings with my welder, grinding them down, media blasting them, reaming, painting, and then install. I had to remove the bad hinge from my passenger door which also took a while as I wanted to be very careful.
This tool helped big time removing some of the stubborn pins!


 |
| Stress crack on the driver's door. Just welded this area up and grinded down. Good for another 58 years of use! |
I got 3 of the 4 pins in and still had the driver's top side to go. This requires a special pin that supports the rear view mirror. So, using some ingenuity I took the good threads from my bad pin and welded them to the top of the new pin. Turned out pretty good. I ended up having to weld the threads on 3 times before they finally worked. Every time I went to pound the pin in the weld cracked. A hassle but well worth it in the end.


Ultimately, there is still some slop in the pins but I did the best I could with what I had. It's an old car and no one expects it to be absolutely perfect. Right. ;)
In other news, I also got the bumpers back from the chromers and they look great!


Weather has been great recently. Looking to get the doors mounted again, clean the booth and shoot some paint! I also have to paint the backside of the bumpers with the same paint I used on the pan to prevent them from rusting since it's hard to get a good coat of wax on them.
Moving along...
Subscribe to:
Posts (Atom)