Today I disassembled an original fuel pump that I had shipped in. It isn't the same as the one on my original engine, in fact it has an additional fuel filter which I kinda like. Not sure if I want to use this pump on my original engine but nonetheless I can rebuild it and sell it if need be.
That brass screw has a filter in there.
Original style on my engine.
So, do I keep the original one or go for a very similar one with a fuel filter on it?
Anyway, I also started some body work! I worked on both rear fenders. The learning curve wasn't so bad, I used my knowledge from videos, books, and experts to try it first.
My first batch I mixed too much and it set up quickly. I was also heavy handed on applying it so I had to sand forever. Lesson learned!
I spent about 8 hours on these two fenders. The driver's side was a real pain in the butt. I had to not only do filler on the outside but also the inside of the fender (obsess much?).
It took forever but I used 80 grit, 150, and then finished 220. They turned out pretty good. I'm going to get all the parts in one coat of filler and then mount them to the body and apply a skim coat of glaze which will get everything super smooth.
I think I'll do front fenders next, then hood, decklid, and the parts on the body that need it!
Wednesday, January 28, 2015
Wednesday, January 21, 2015
Day 121.5
Spent only a couple of hours in the garage today, so it's a half day!
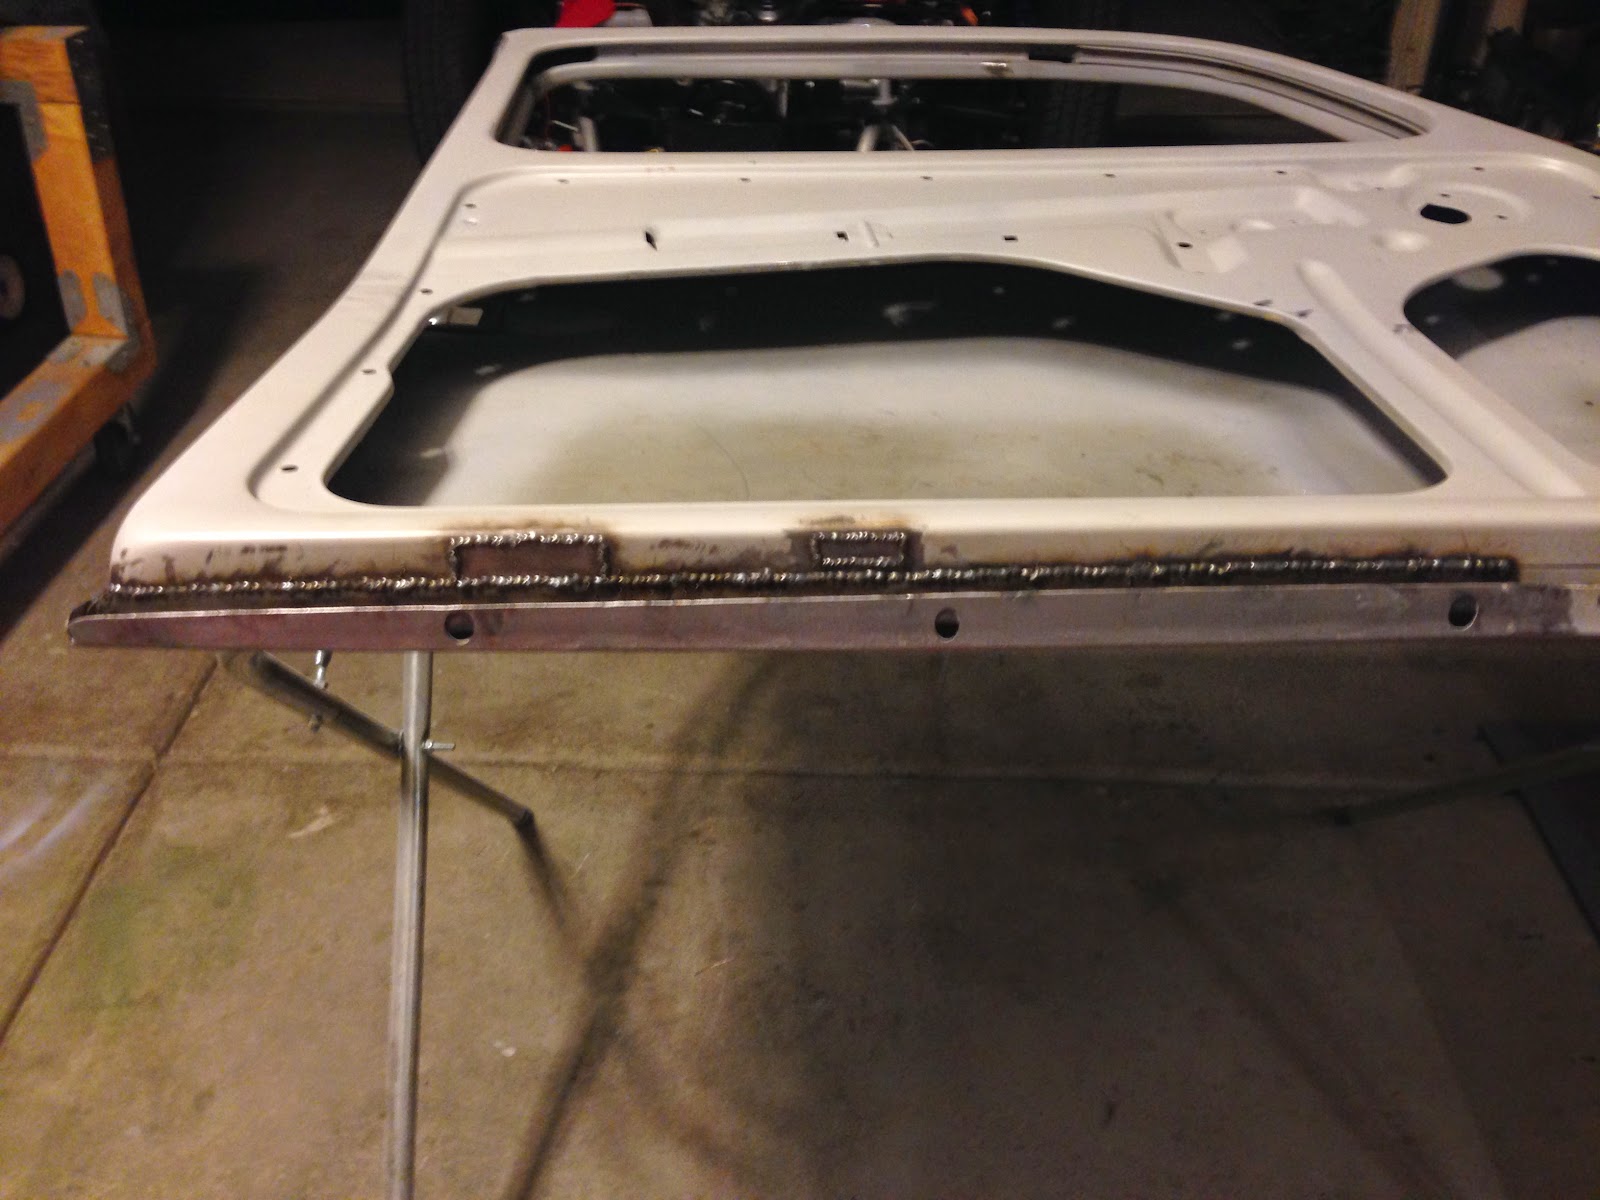
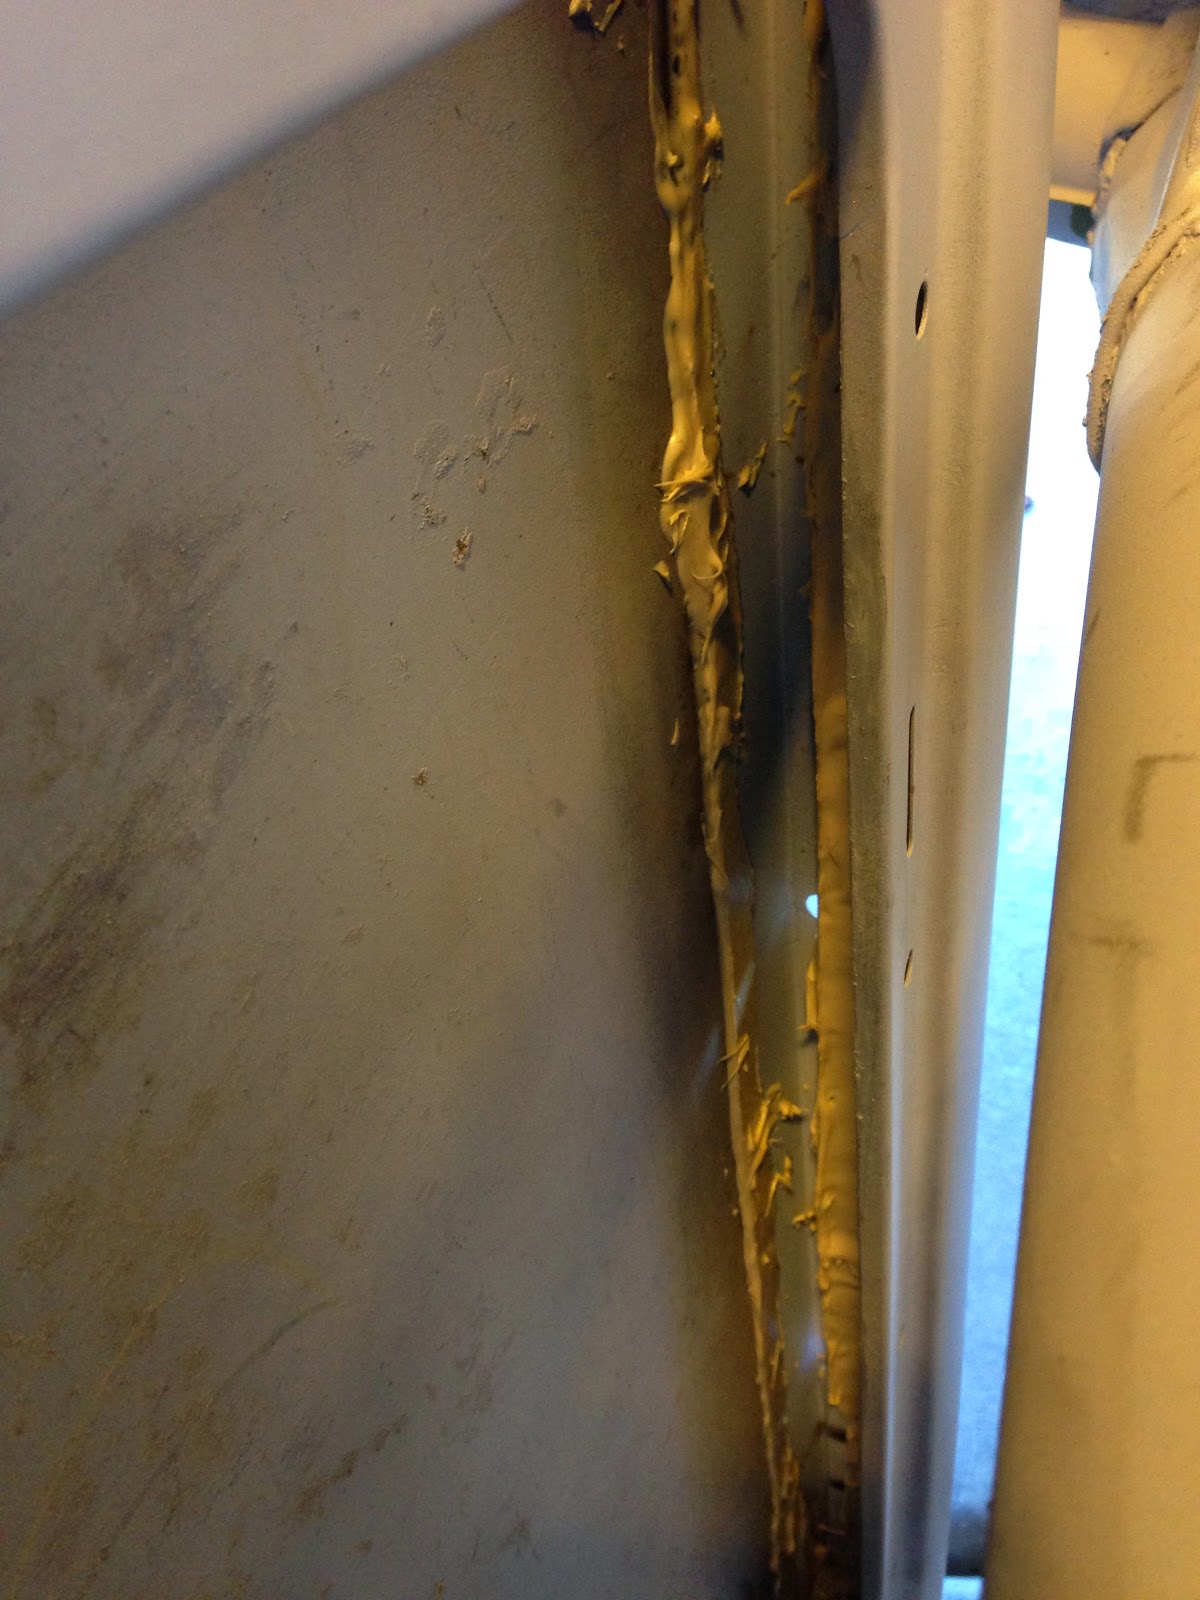
Finished up the passenger side door metal finishing. Also got a coat of seam sealer on all my welds. Turned out pretty good!
Finished up the passenger side door metal finishing. Also got a coat of seam sealer on all my welds. Turned out pretty good!
Tuesday, January 20, 2015
Day 121
Today I finished up the driver's door, grinding down the welds, and priming it.
I also started on the passenger door, cut out the rust, pieced together the patch panels, and welded those in.
Tomorrow I'll metal finish the welds and prime the passenger door. Then onto the hood.
I also started on the passenger door, cut out the rust, pieced together the patch panels, and welded those in.
Tomorrow I'll metal finish the welds and prime the passenger door. Then onto the hood.
Monday, January 19, 2015
Day 120
Today I worked on the driver's side door getting it all welded up again. It turned out OK for the most part. I was able to control the heat, but the fitting of the panel could have been better. I ended up with a low spot around the middle bottom of the door. Some slight filler and it should be ok.
I need to finish grinding the welds on the bottom inside and then onto the passenger side!
I need to finish grinding the welds on the bottom inside and then onto the passenger side!
 |
| This will be ground down tomorrow. |
Tuesday, January 13, 2015
Day 119
I spent about 4 hours in the garage today. Didn't get as much done as I had hoped but good progress nonetheless.
I was able to trim the donor panel for the inner door and got that tacked in. Looks good.
I also trimmed and fit the outer panel.
I decided to wait until next time to begin the welding since it takes patience and I was getting a bit tired at the end of the day.
Finish this door up, passenger side door, and hood to go!
I was able to trim the donor panel for the inner door and got that tacked in. Looks good.
I also trimmed and fit the outer panel.
 |
| Before I fit the donor panel. |
I decided to wait until next time to begin the welding since it takes patience and I was getting a bit tired at the end of the day.
Finish this door up, passenger side door, and hood to go!
Monday, January 12, 2015
Day 118
Today I finished the decklid priming it and welding it back in.
I also started on the doors. I carefully marked where I was going to cut out the bad parts of the doors. They are pretty rough on the bottom!
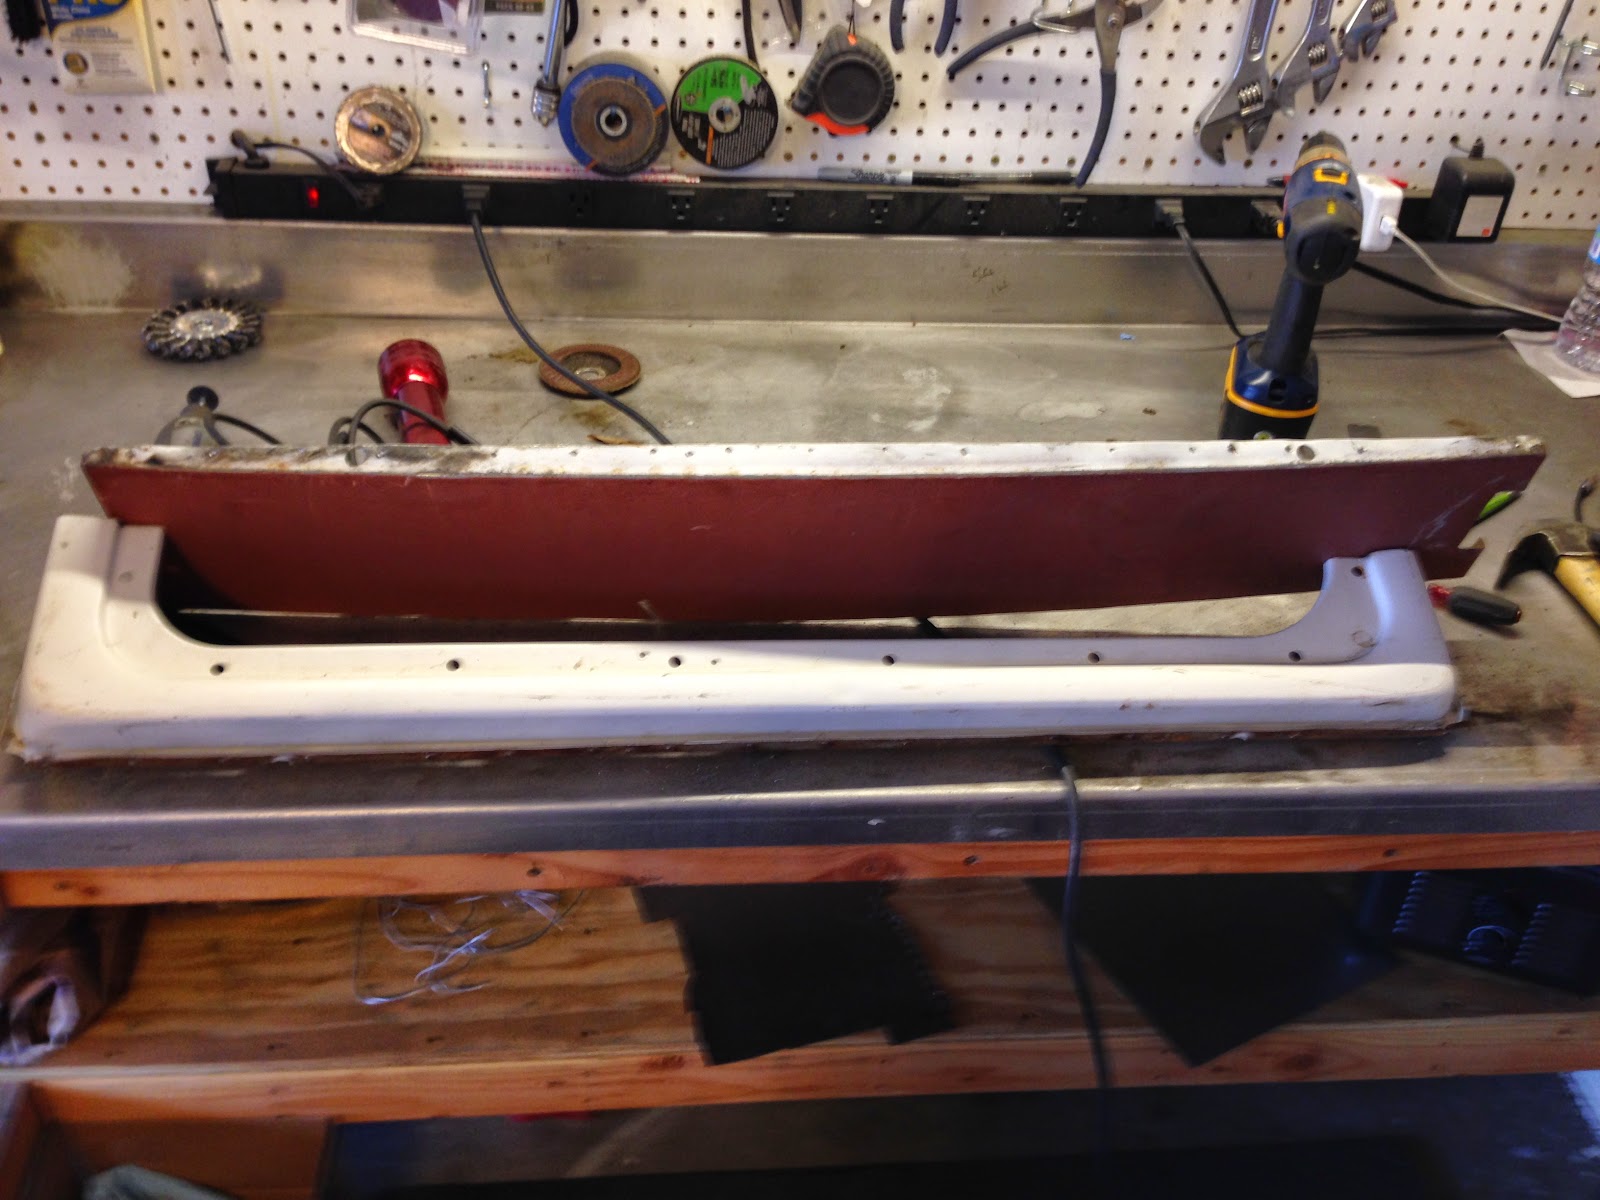
I then prepped the donor doors. To do this, I basically drilled out the spot welds and cut the area I needed out of the donor door. I then cleaned it up a bit in the sand blaster cabinet.
I will get them cleaner before I do a final weld-in. This welding will be some of the toughest yet because I have to go very slow to not warp the thin panel on the door. There is no bracing behind it, so it is very easy to do so.
I also cut out the first part of my driver's side door that will be replaced. I will tack in the repair part and then remove the outer skin of the door, preserving the geometry as best I can.
Decent progress, more tomorrow hopefully!
I also started on the doors. I carefully marked where I was going to cut out the bad parts of the doors. They are pretty rough on the bottom!
I then prepped the donor doors. To do this, I basically drilled out the spot welds and cut the area I needed out of the donor door. I then cleaned it up a bit in the sand blaster cabinet.
 |
| Spot welds drilled. |
 |
| Two pieces separated |
I also cut out the first part of my driver's side door that will be replaced. I will tack in the repair part and then remove the outer skin of the door, preserving the geometry as best I can.
 |
| I'll replace the inner panel first. Then remove the outer/bottom panel. |
 |
| Pretty roached. |
Decent progress, more tomorrow hopefully!
Saturday, January 10, 2015
Day 116 & 117
The past few days working on the bug I finished the front fenders, welding them up and making them look good. The driver's side needed some panel beating and a weld or two.
The passenger side front fender required a bit more welding but not as much panel beating. The welding consisted of reattaching the broken off headlight conduit which carries the electrical wires to the headlight bucket.
I then transitioned to some seat frames which needed repairs.
Finally, the last few times working on the bug I focused on the decklid. It was in decent shape with only a bit of welding needed and some hammer and dolly to get things straight.
However, the most problematic area of the decklid is the portion on the inside where the latch is. This is a point where water collects and that means RUST. I tried welding the holes but found them to be too prevalent to continue.
I drilled out the spot welds and had to piece by piece plug weld the holes in the inner attachment area. A real pain!
I of course blew threw the metal in several spots because it is a bit weaker and already thin to begin with. But, I kept at it and used the flash light trick to make sure there weren't any pin holes when I was finished. A little bit of body filler and it should be A-OK!
Next time I'll reattach the decklid pieces. I have the hood and two doors to go!
The passenger side front fender required a bit more welding but not as much panel beating. The welding consisted of reattaching the broken off headlight conduit which carries the electrical wires to the headlight bucket.
I then transitioned to some seat frames which needed repairs.
Finally, the last few times working on the bug I focused on the decklid. It was in decent shape with only a bit of welding needed and some hammer and dolly to get things straight.
However, the most problematic area of the decklid is the portion on the inside where the latch is. This is a point where water collects and that means RUST. I tried welding the holes but found them to be too prevalent to continue.
 |
| Notice the bottom edge. |
 |
| Very difficult to get in here with a grinder to get them smooth. |
I drilled out the spot welds and had to piece by piece plug weld the holes in the inner attachment area. A real pain!
I of course blew threw the metal in several spots because it is a bit weaker and already thin to begin with. But, I kept at it and used the flash light trick to make sure there weren't any pin holes when I was finished. A little bit of body filler and it should be A-OK!
Next time I'll reattach the decklid pieces. I have the hood and two doors to go!
Friday, January 2, 2015
Day 115
Well it has certainly been a while! Almost a month in fact. I was out of town for a good portion of that time, visiting Michigan and Caroline in Palm Springs.
I have had a couple doubts about the progress of the car. It is taking quite a while, so I'd get down on myself but had some pick-me-up talks and was back at it today.
I worked on both rear fenders, repairing some rust and doing some hammer and dolly work.
I take pictures of mine, but by far the most time consuming was replacing the attachment lip on the driver's side. I had a special piece mailed from Finland.
This guy does all the weird, special metal work that some of the older bugs require. He's really nice and the parts fit great.
Here's some other work I did.
Front fenders tomorrow!
I have had a couple doubts about the progress of the car. It is taking quite a while, so I'd get down on myself but had some pick-me-up talks and was back at it today.
I worked on both rear fenders, repairing some rust and doing some hammer and dolly work.
I take pictures of mine, but by far the most time consuming was replacing the attachment lip on the driver's side. I had a special piece mailed from Finland.
This guy does all the weird, special metal work that some of the older bugs require. He's really nice and the parts fit great.
Here's some other work I did.
 |
| This was previously hammer and dollied very poorly. Then covered with filler. This is the before picture. I smoothed it out a bit more and it looks good now! |
Subscribe to:
Comments (Atom)


