Tuesday, November 4, 2014

Day 109

I've had quite a few days off, but after some visitors and my thumb injury I didn't get into it as much as I had hoped.

The weather has also cooled down significantly.  So much so, that I had to use my garage heater today!  And also having trouble with the pan starting since my manual choke isn't hooked up.  May have to rig something up to make that work.

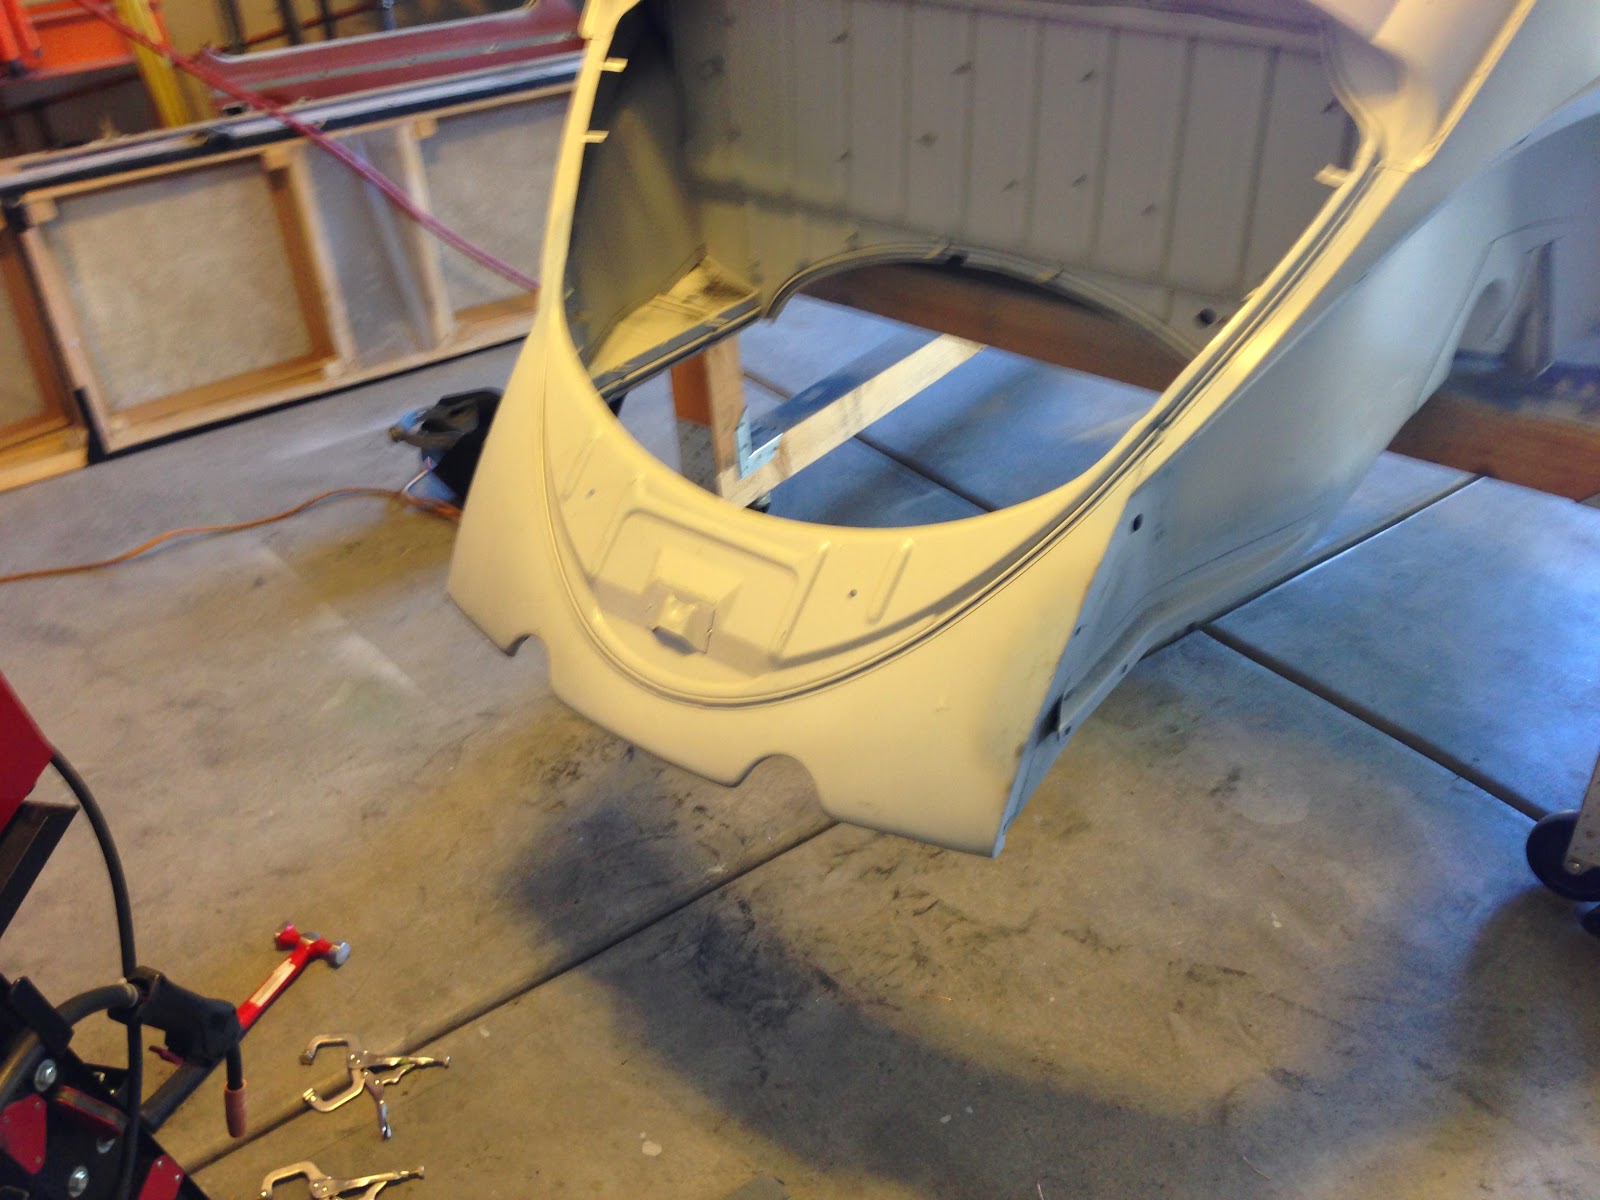
Anyway, today I did a little bit of metal bumping on the front apron.  I also removed the old, rotten spare tire well from the front apron.  Then I welded it up, will grind it smooth tomorrow.

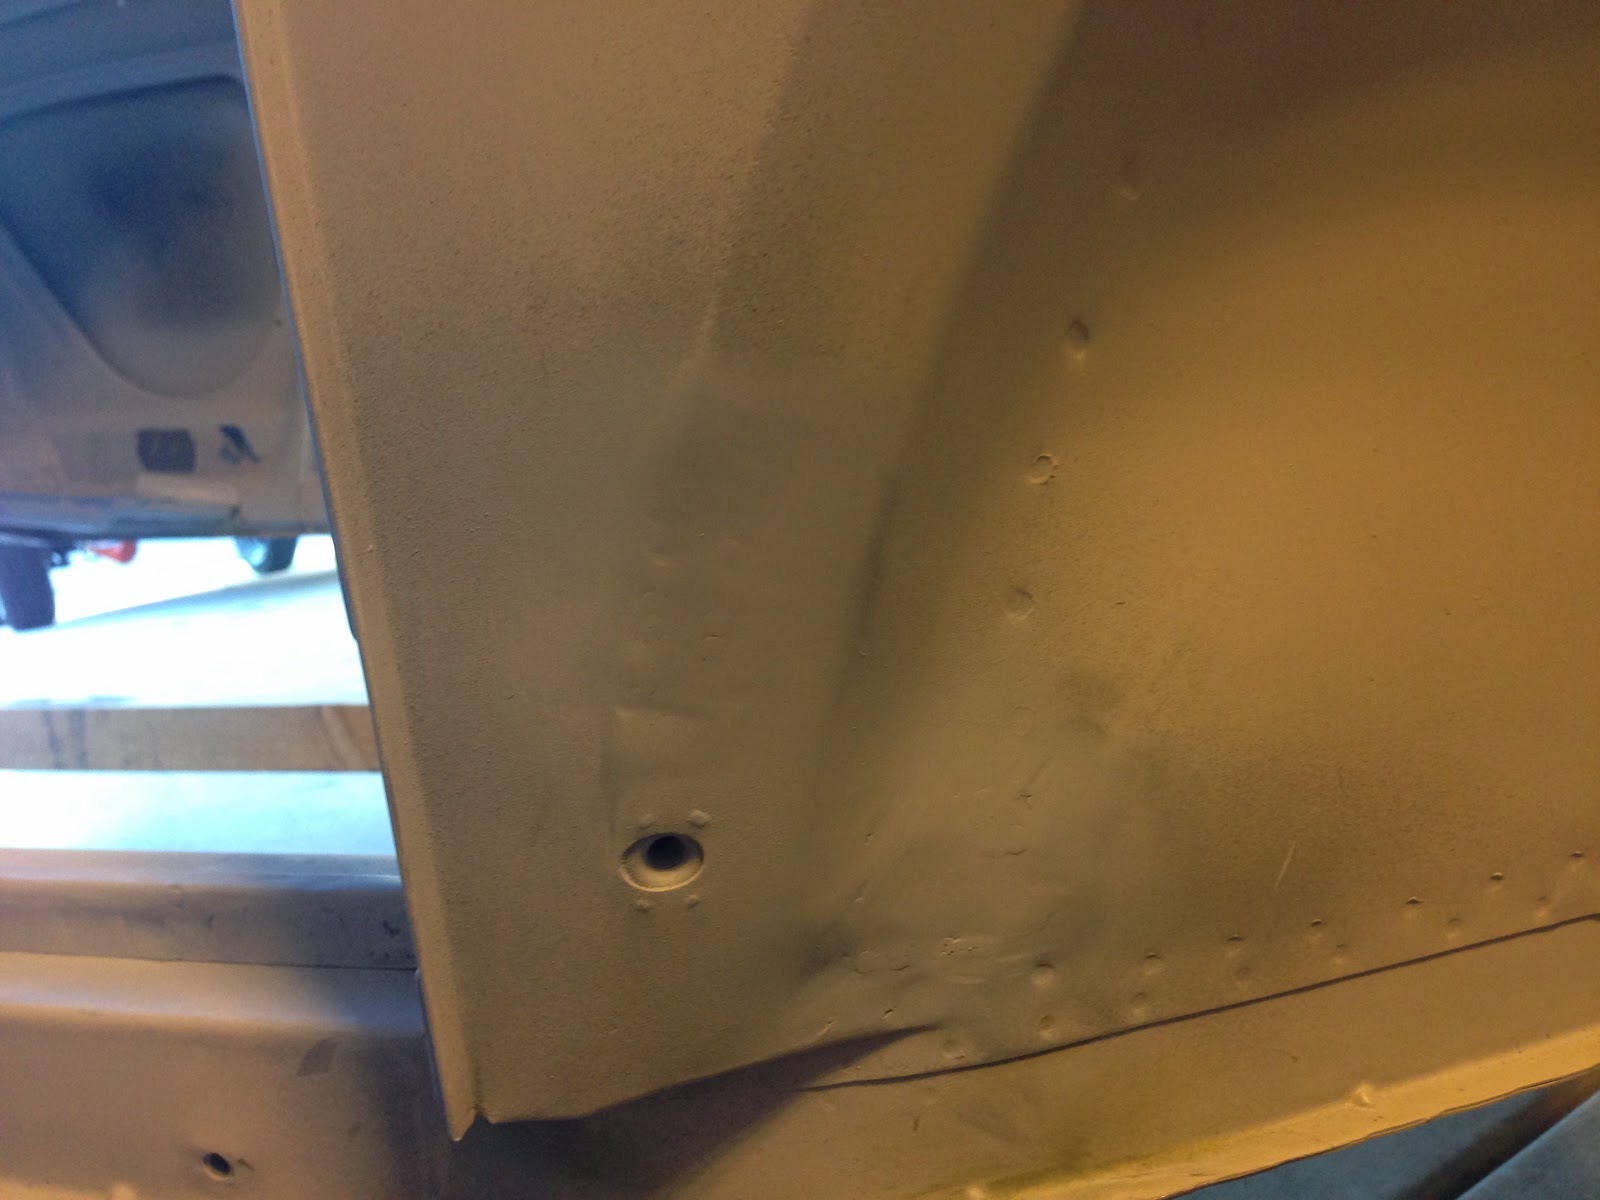
Here is the accident damage I talked about last post that needs repaired, passenger side.  You can also see what the media blaster didn't get and what that means for the rest of the car!  Even though it has been blasted clean there are still spots that I will just never be able to get. :)


Inside of the front apron.

Some more work to do on the bottom lip.


Will grind these tomorrow.


Will do some metal prep on the front area of the car and replace the master cylinder shelf area...then reassemble!

Friday, October 31, 2014

Day 108

Welp, today was an interesting day.  I really didn't get much done but it took a few hours to do it...if that makes sense?

I needed to remove the front apron which required the drilling out of probably 50 spot welds.  I have a special tool called a spot weld cutter that is like a miniature hole saw.  It makes easy work of this job.

Tool.

Results.
Nose job!

Left side has some accident damage, discussed in earlier posts?

This piece needed to be removed so I could replace the rusted bottom seen here.


I still have to drill out the spot welds seen at the top of this piece.  The front apron and spare tire well are two different pieces entirely.
Unfortunately, about half way through I had the biggest accident I've had with this entire project involving myself.  I've had cuts, scrapes, bruises, 6 month long splinters, weld burns, etc. etc.

But none bled as badly as this and had me as worried.  The spot weld cutter slipped and started working its magic on my left thumb.  Blood on the bug body, so now I can say I have blood, sweat, money, and it freakin' hurt... so tears into this car!


What was left of my thumb stuck in the drill bit, it was white, but weird lighting in this picture.

So needless to say, off to urgent care I went for a tetanus booster (probably will need that in the future anyway) and some antibiotics 4 times daily.

I actually cut my thumb about half way through the project and decided to finish it so I could get the front apron off :)

Here's the pictures of the driver's side A pillar.  Will need some filler work, but not too bad.


And a nice picture from work.

This front apron is going to take quite a while.  I need to replace the master cylinder shelf, repair the accident damage on the left side of the car, prep the front area, and then mount the new spare tire well and re-attach the front apron.

Wednesday, October 29, 2014

Day 107

Today I finished the driver's side A pillar.  It took quite a bit longer than the passenger side because it was a full wrap-around piece.  But, it's done!  Pictures later.

Front tire well and master cylinder shelf next.  :)

Monday, October 6, 2014

Day 106

Alright, so long awaited...here are the pictures I promised in the last post.  The repaired trunk area and pop out windows.


No rust!

Front driver's side tire well repair.

Can you feel the breeze?
Today, I worked on the passenger side A pillar area.  This one was the one that had the least amount of damage.  In case you don't remember, here's what it looked like before.

Swiss cheese.

More holes.

And some minor patch areas.
Well, I can say that after 8 hours (!!) I finally got this area repaired.  Of course it was a bit more taxing than I expected...but so has everything else!

Cut and replace.

Had to remove the carpet hold down rail in order to get to the A pillar.

Not too bad inside.

Repaired!

Good as new! (sort of)

Turned out well.
So, that was the A pillar.  I still have the driver's side to go.  Will do that next.  Then I'll move onto the nose and will remove the front apron and repair the spare tire well and master cylinder reservoir shelf.

BONUS MATERIAL!
Vegas has an annual Bug show and I went to check it out this past weekend.  Saw some cool cars, got some ideas, what to do and not!

I think this is Diamond Grey. The license plate is funny too ;)

What a very original engine should look like.  The spark plug wires are not stock but a nice vintage touch.

This was a '59 convertible that was in excellent shape.  BUT, I was mainly interested in the interior which I think is from a vendor I am looking at.  The color match isn't exact but the fit and finish is very good.


See ya next time!

Friday, September 26, 2014

Day 105

Today, in a month marked by slow progress, I got some stuff done!

First, I test fitted my rear quarter pop out windows.  These are the ones I got from New Zealand in almost new condition and were offered back in the day as a dealer accessory.  My car didn't originally come with them and I don't plan on adding many more accessories but these are too cool and will help keep me cool!

Also, I used a patch piece I got from someone to repair the area right above the driver's side left knee.

Displaying underneath tube.jpeg
From inside the trunk.  That tube carries a cable to release the front hood.

Displaying inside rust.jpeg
Inside the car, above the driver's left knee.

Underneath the hood release tube, the metal had rusted through.  It is a fairly complex area, so I got an original German piece and spliced it in.  Happy with how it turned out.

Need to do the A pillars and then tackle the front apron area.  I think to do the best possible job, I'm going to have to remove the front apron.  Sort of like I did with the rear apron to replace the bumper mounts.

Pictures some other time...I'm tired!

Wednesday, September 3, 2014

Day 104

Today I finished welding on the rear apron.  It took FOREVER!  Between fitting the piece, filling in all the plug weld holes, grinding them down, and making everything look right I had about 5 hours into this piece.  By the time I was finished I was just happy to be done so I called it a day!


Next time I work on the car I'm going to try and get some of the welding in the trunk done.  That includes the master cylinder shelf, spare tire well, and another rusted area up by the driver's side left knee area in the trunk.  I also need to fit and drill holes for my pop out windows.

Also had to do a repair to my shoe :)

I've had them for 10 years and they fit just right!

Tuesday, September 2, 2014

Day 103

Well I actually ended up having to reweld my driver's side rear bumper support.  I didn't have the heat turned up enough and the plug welds were too cold, which meant the weld didn't "stick".  So I went to test it with a screw driver to see if I could pry it off, and some of  the welds were no good.

I drilled out the plug welds and re-welded them.  No big deal and all fixed!

Today, I worked on the passenger side rear quarter where I had the rust issue below.  You can see both a hole in the sheet metal where the bumper support is and also the rear part of the quarter completely rusted away.


So, first step was to remove the rear apron.  I did so by using my spot weld cutter and removing the spot welds on both quarter panels.


Here you can see the rear apron removed as well as the holes made by the spot weld cutter on the left and right sides.

Pretty nasty shape.

Bad stuff cut out.

Pretty nasty.

Back side.

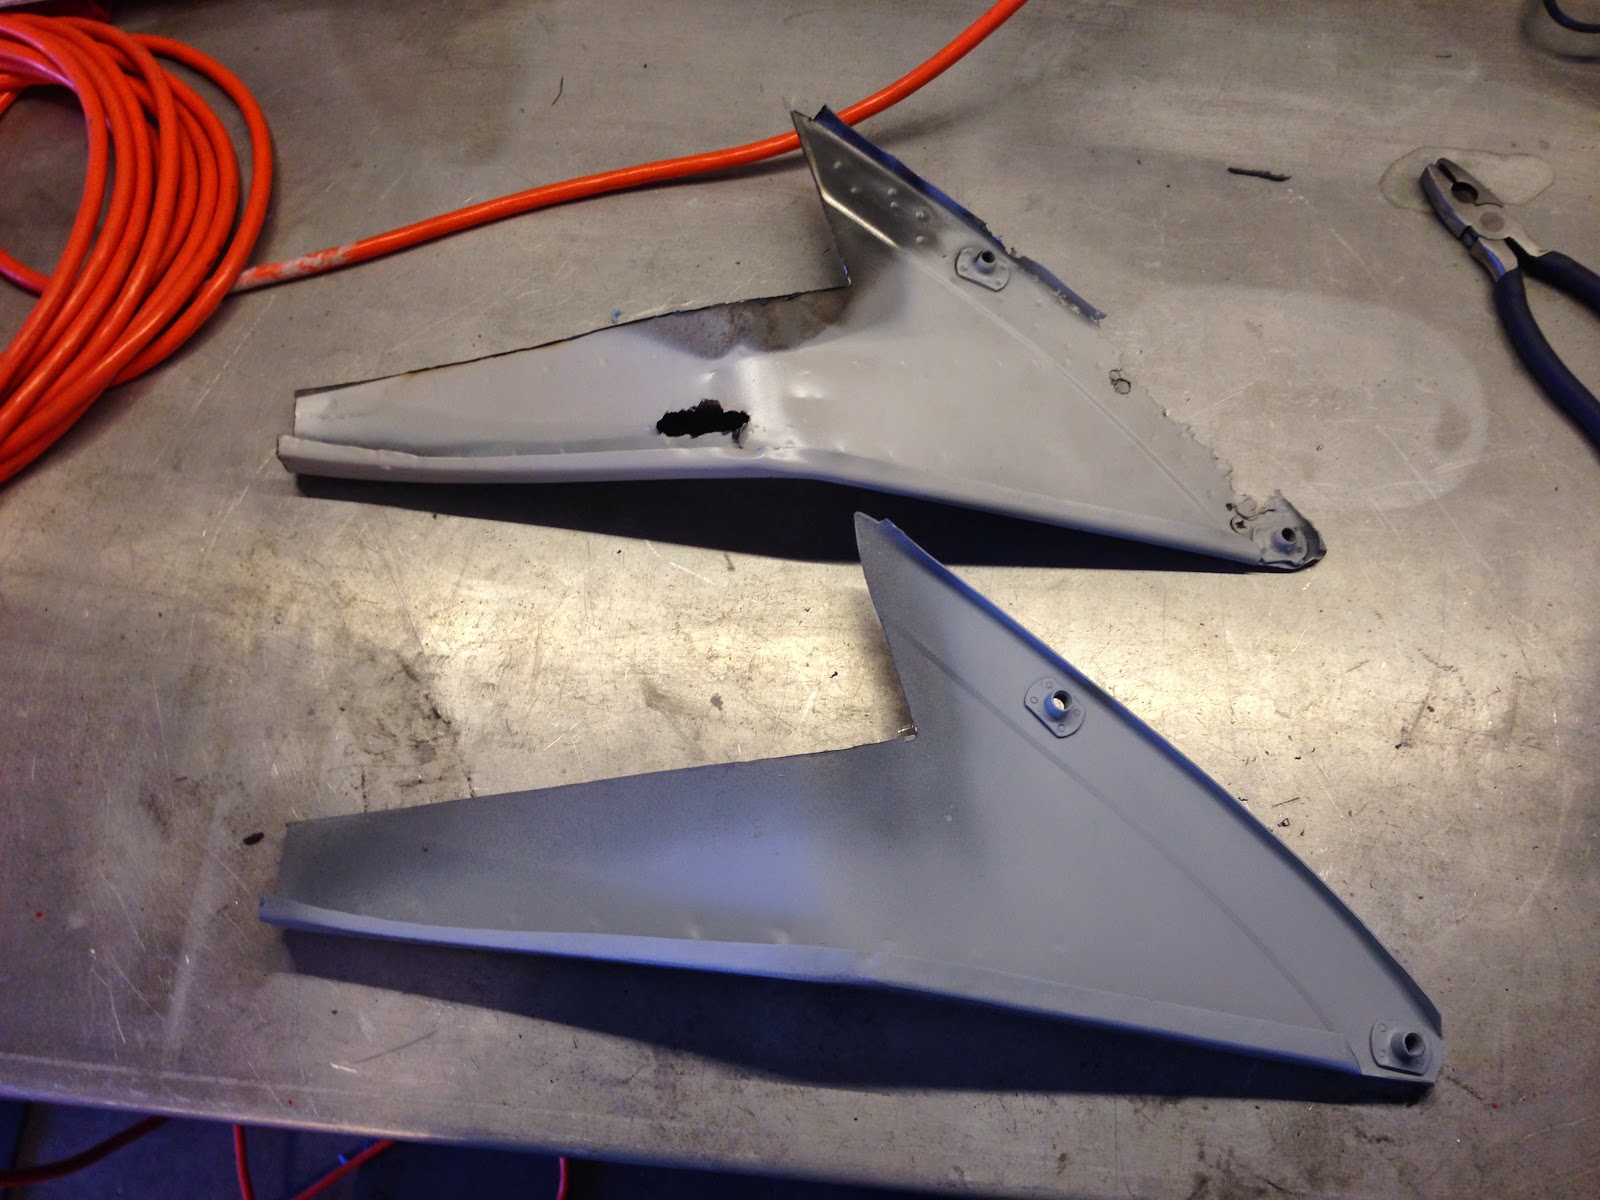
Old vs. new cut to size back.

Old vs. new front.
I proceeded to weld it back into place.  I really took my time on this.  I made sure to tack weld every few inches.  Let it cool.  Then I'd grind down my spot weld, hammer and dolly if accessible, and repeat.  Probably spent about 2 hours just on this little piece.  It turned out very good!


Tomorrow I hope to re-install the rear apron and possibly work on getting my pop-out windows mocked up in the car so I can drill the mounting holes.